Latest Frame Additions
All of the details on the ever-evolving gallery hallway


All Of the details on the ever-evolving gallery hallway
I’ve been sharing my picture-framing journey (lol) over the last year and a half, and thought it was about time to create a new post with the larger and more recent additions. We moved back in the fall and found ourselves with seemingly endless hallway space, so we’re doing everything we can to get the walls decorated intentionally!
If you want the rundown on the DIY process I use for the majority of my frames, info on the supplies I use, and a general list of my go-to picture frames, head over to this post, instead.
Thankfully, we’ve been sitting on some vintage posters, sketches and prints—not to mention camera rolls consisting of god knows how many photos—that we can sort through whenever we’re looking for something to frame. When I’m framing large-scale prints, I find it easier to have these mailed in rather than doing them myself: it all comes out in the wash since it’s roughly as expensive to source 30” tall frames and mats. I’ll share each of the configurations and picture frames I went with throughout this post. :-)
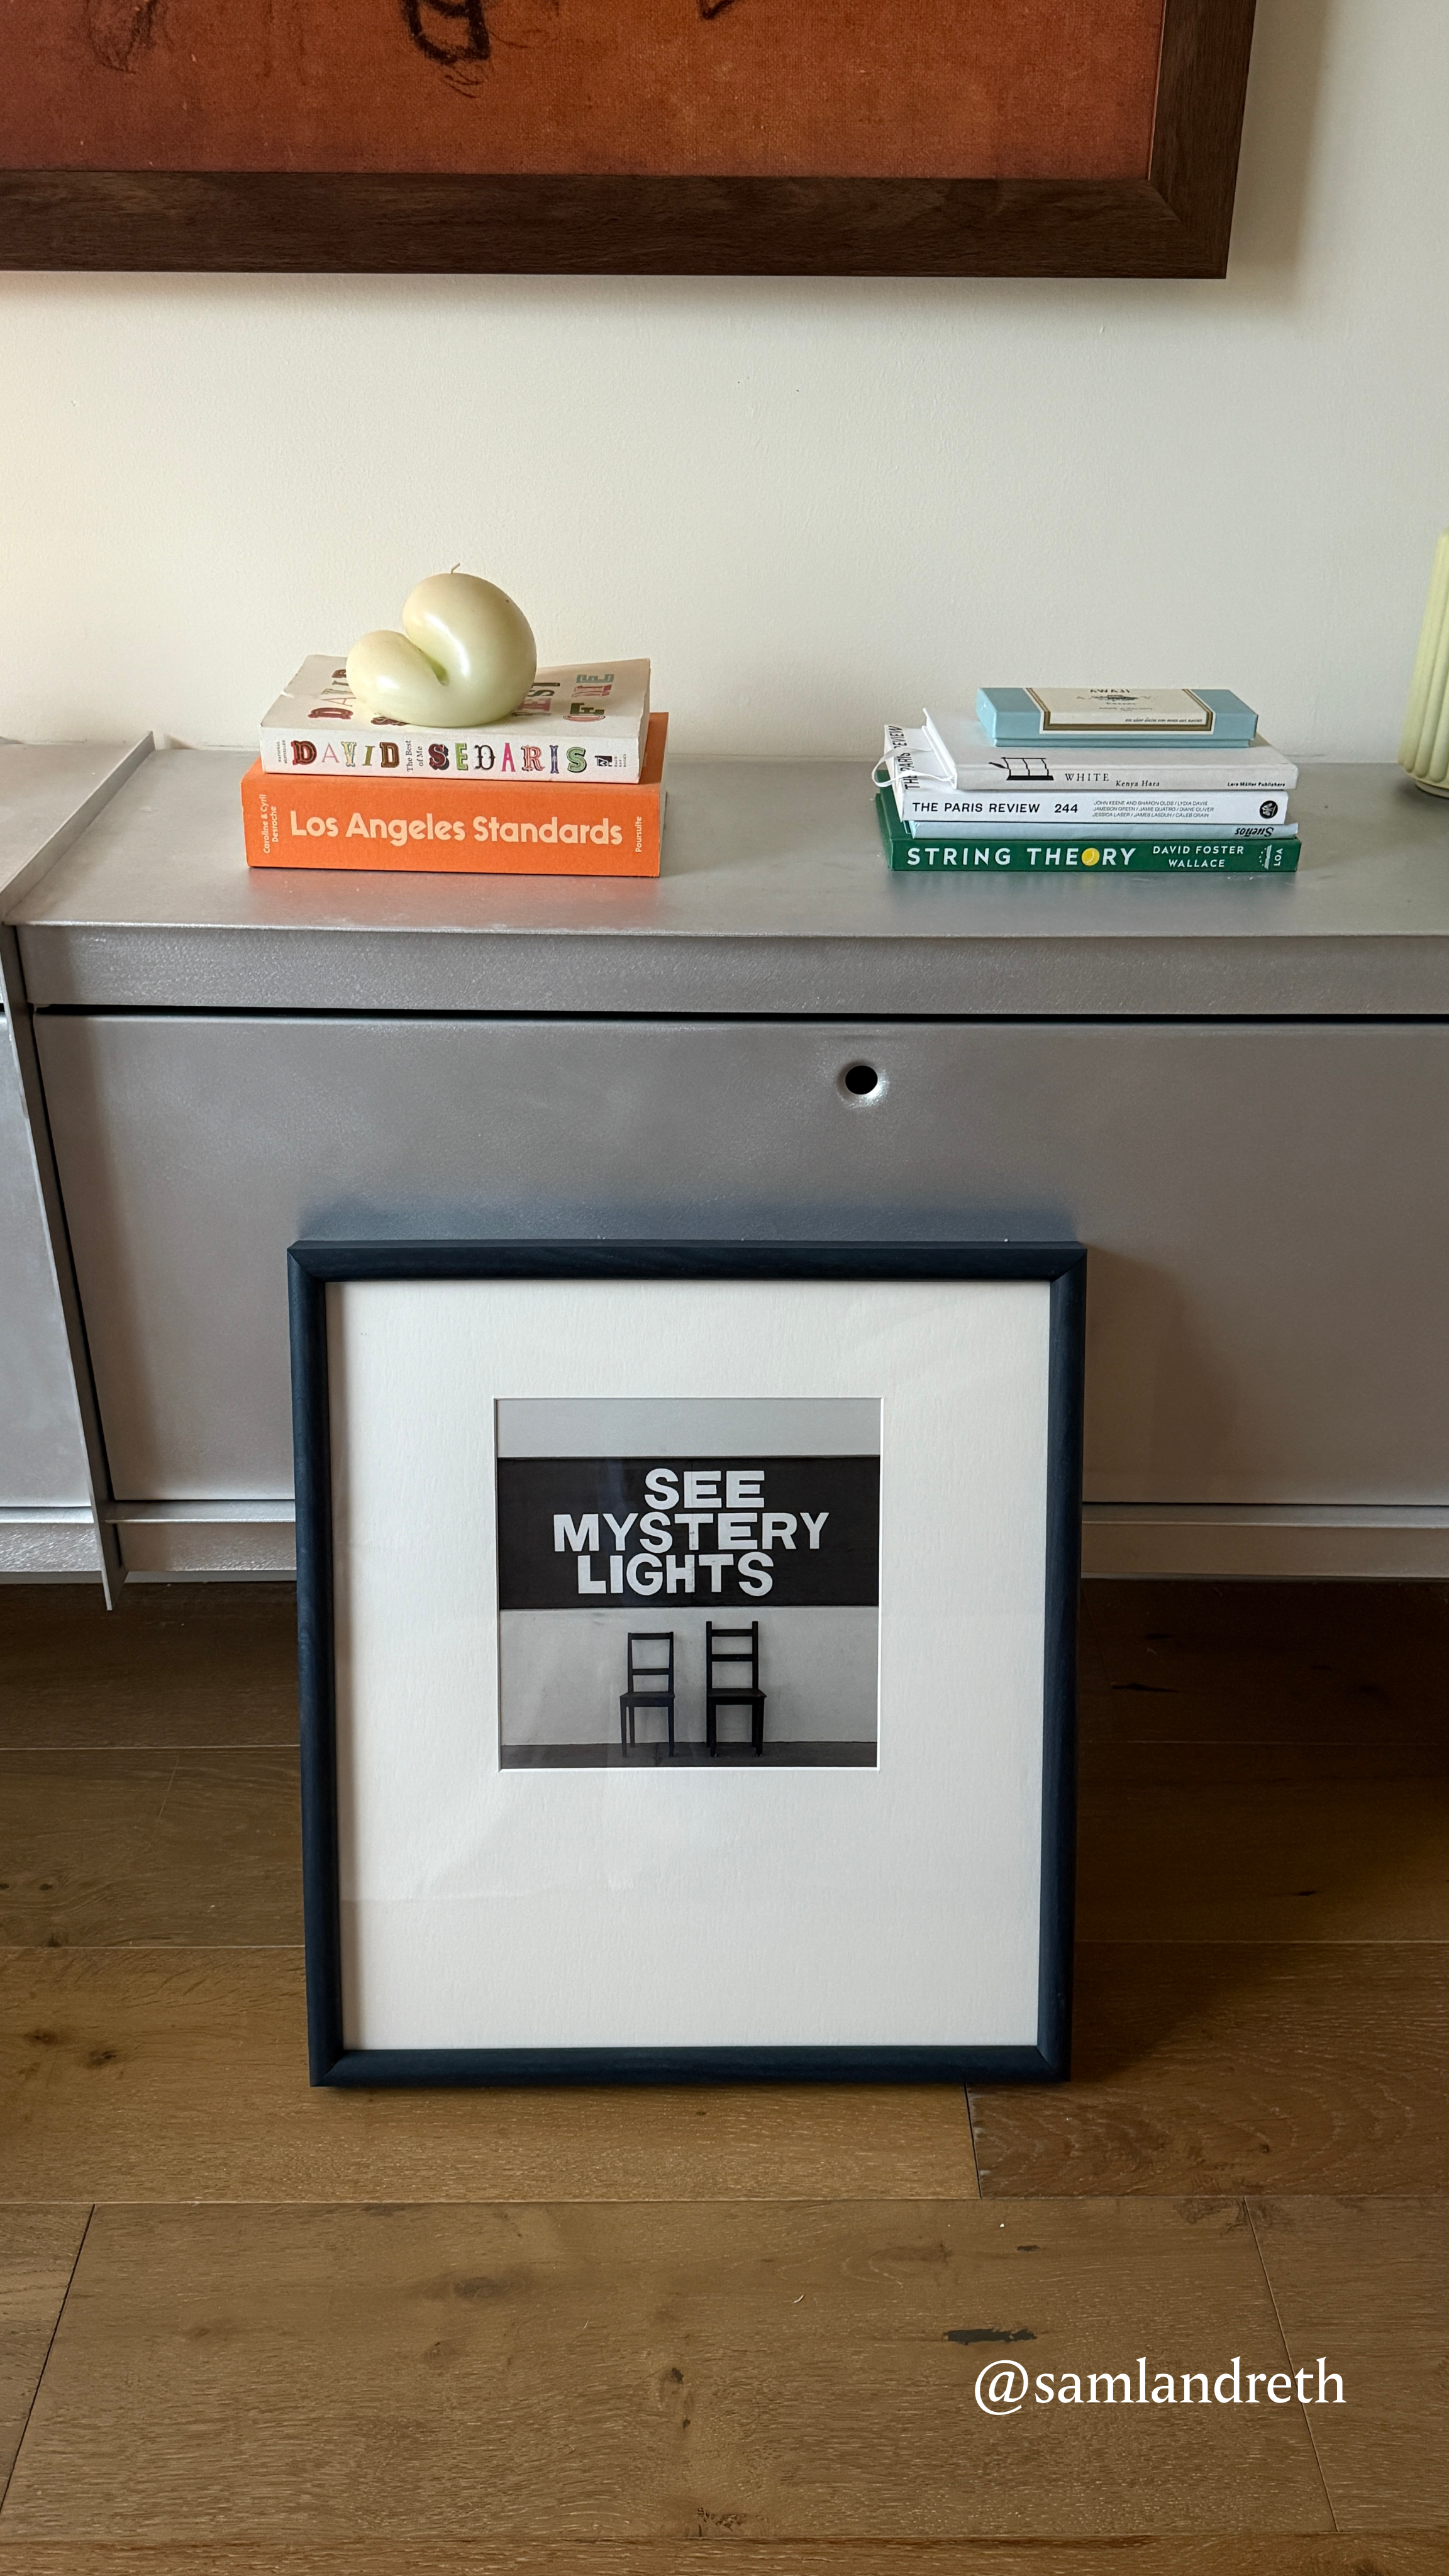
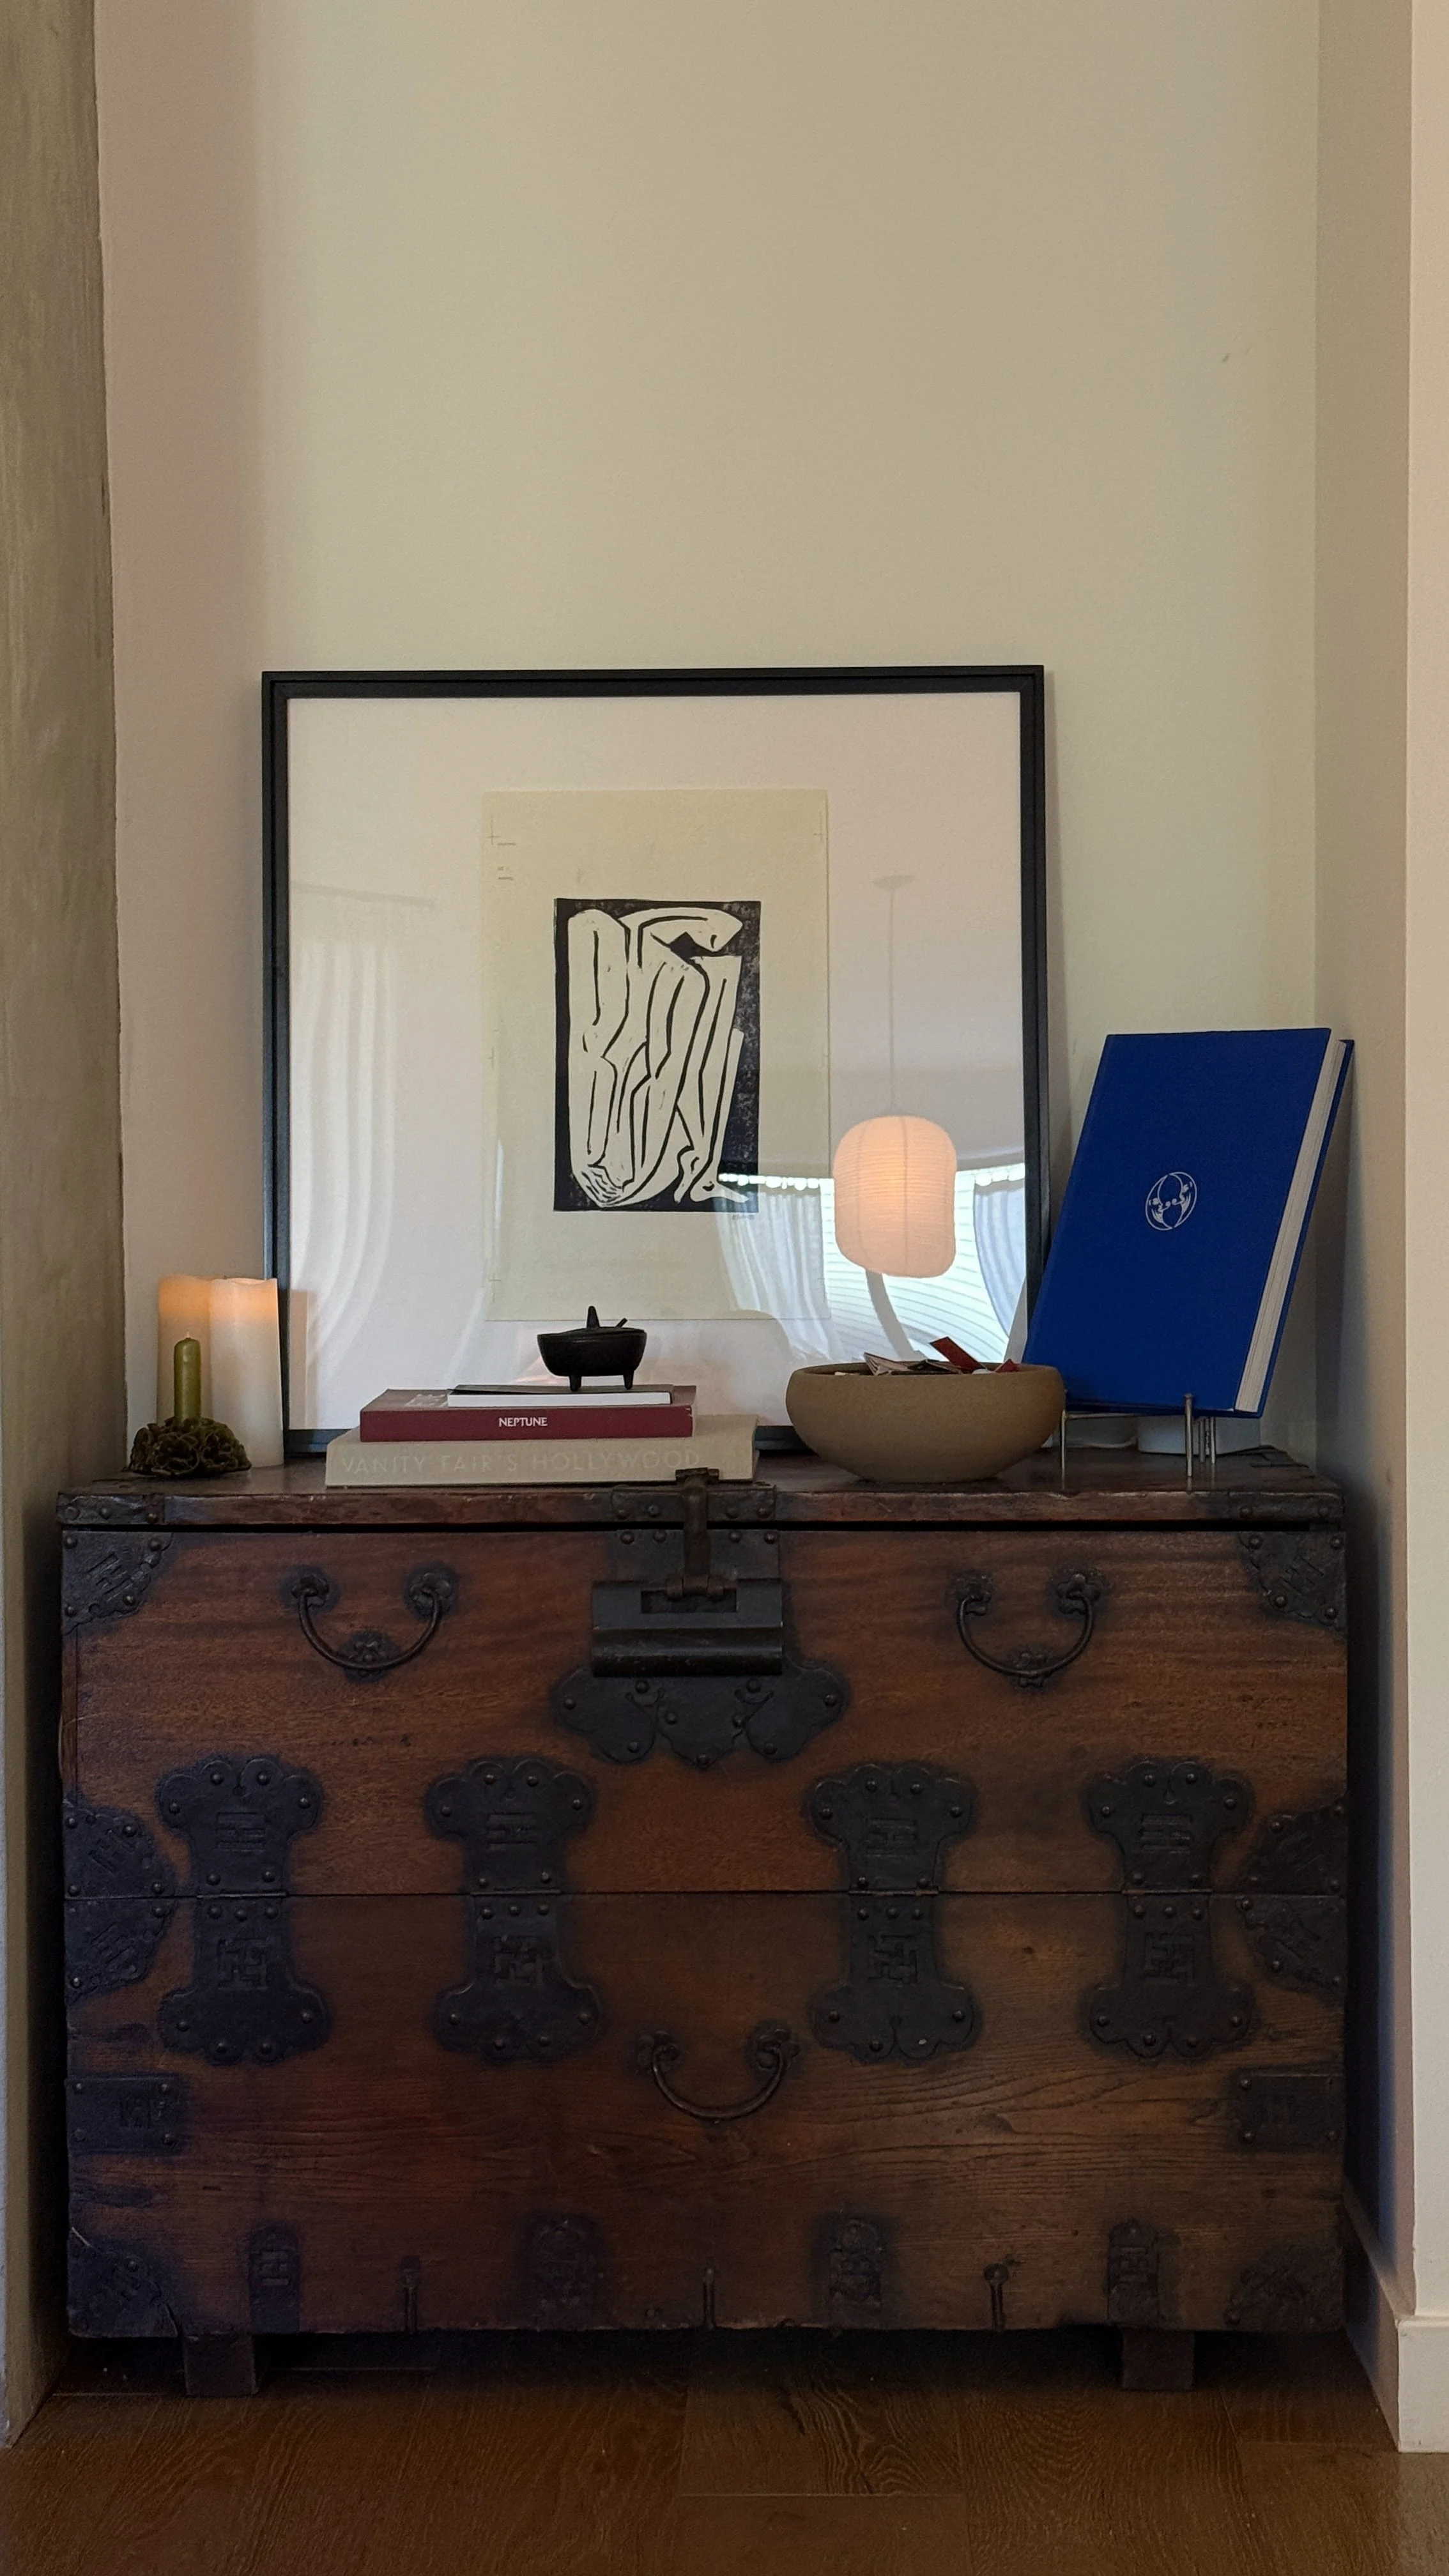
I checked my order history for the frame above, and while the one I bought last month came in navy, it seems like they’ve since gotten rid of that option. Of course, the black is similar enough—highly recommend: it’s a solid, well-made option. I used foam-core and putty to float-mount the canvas onto the mat.
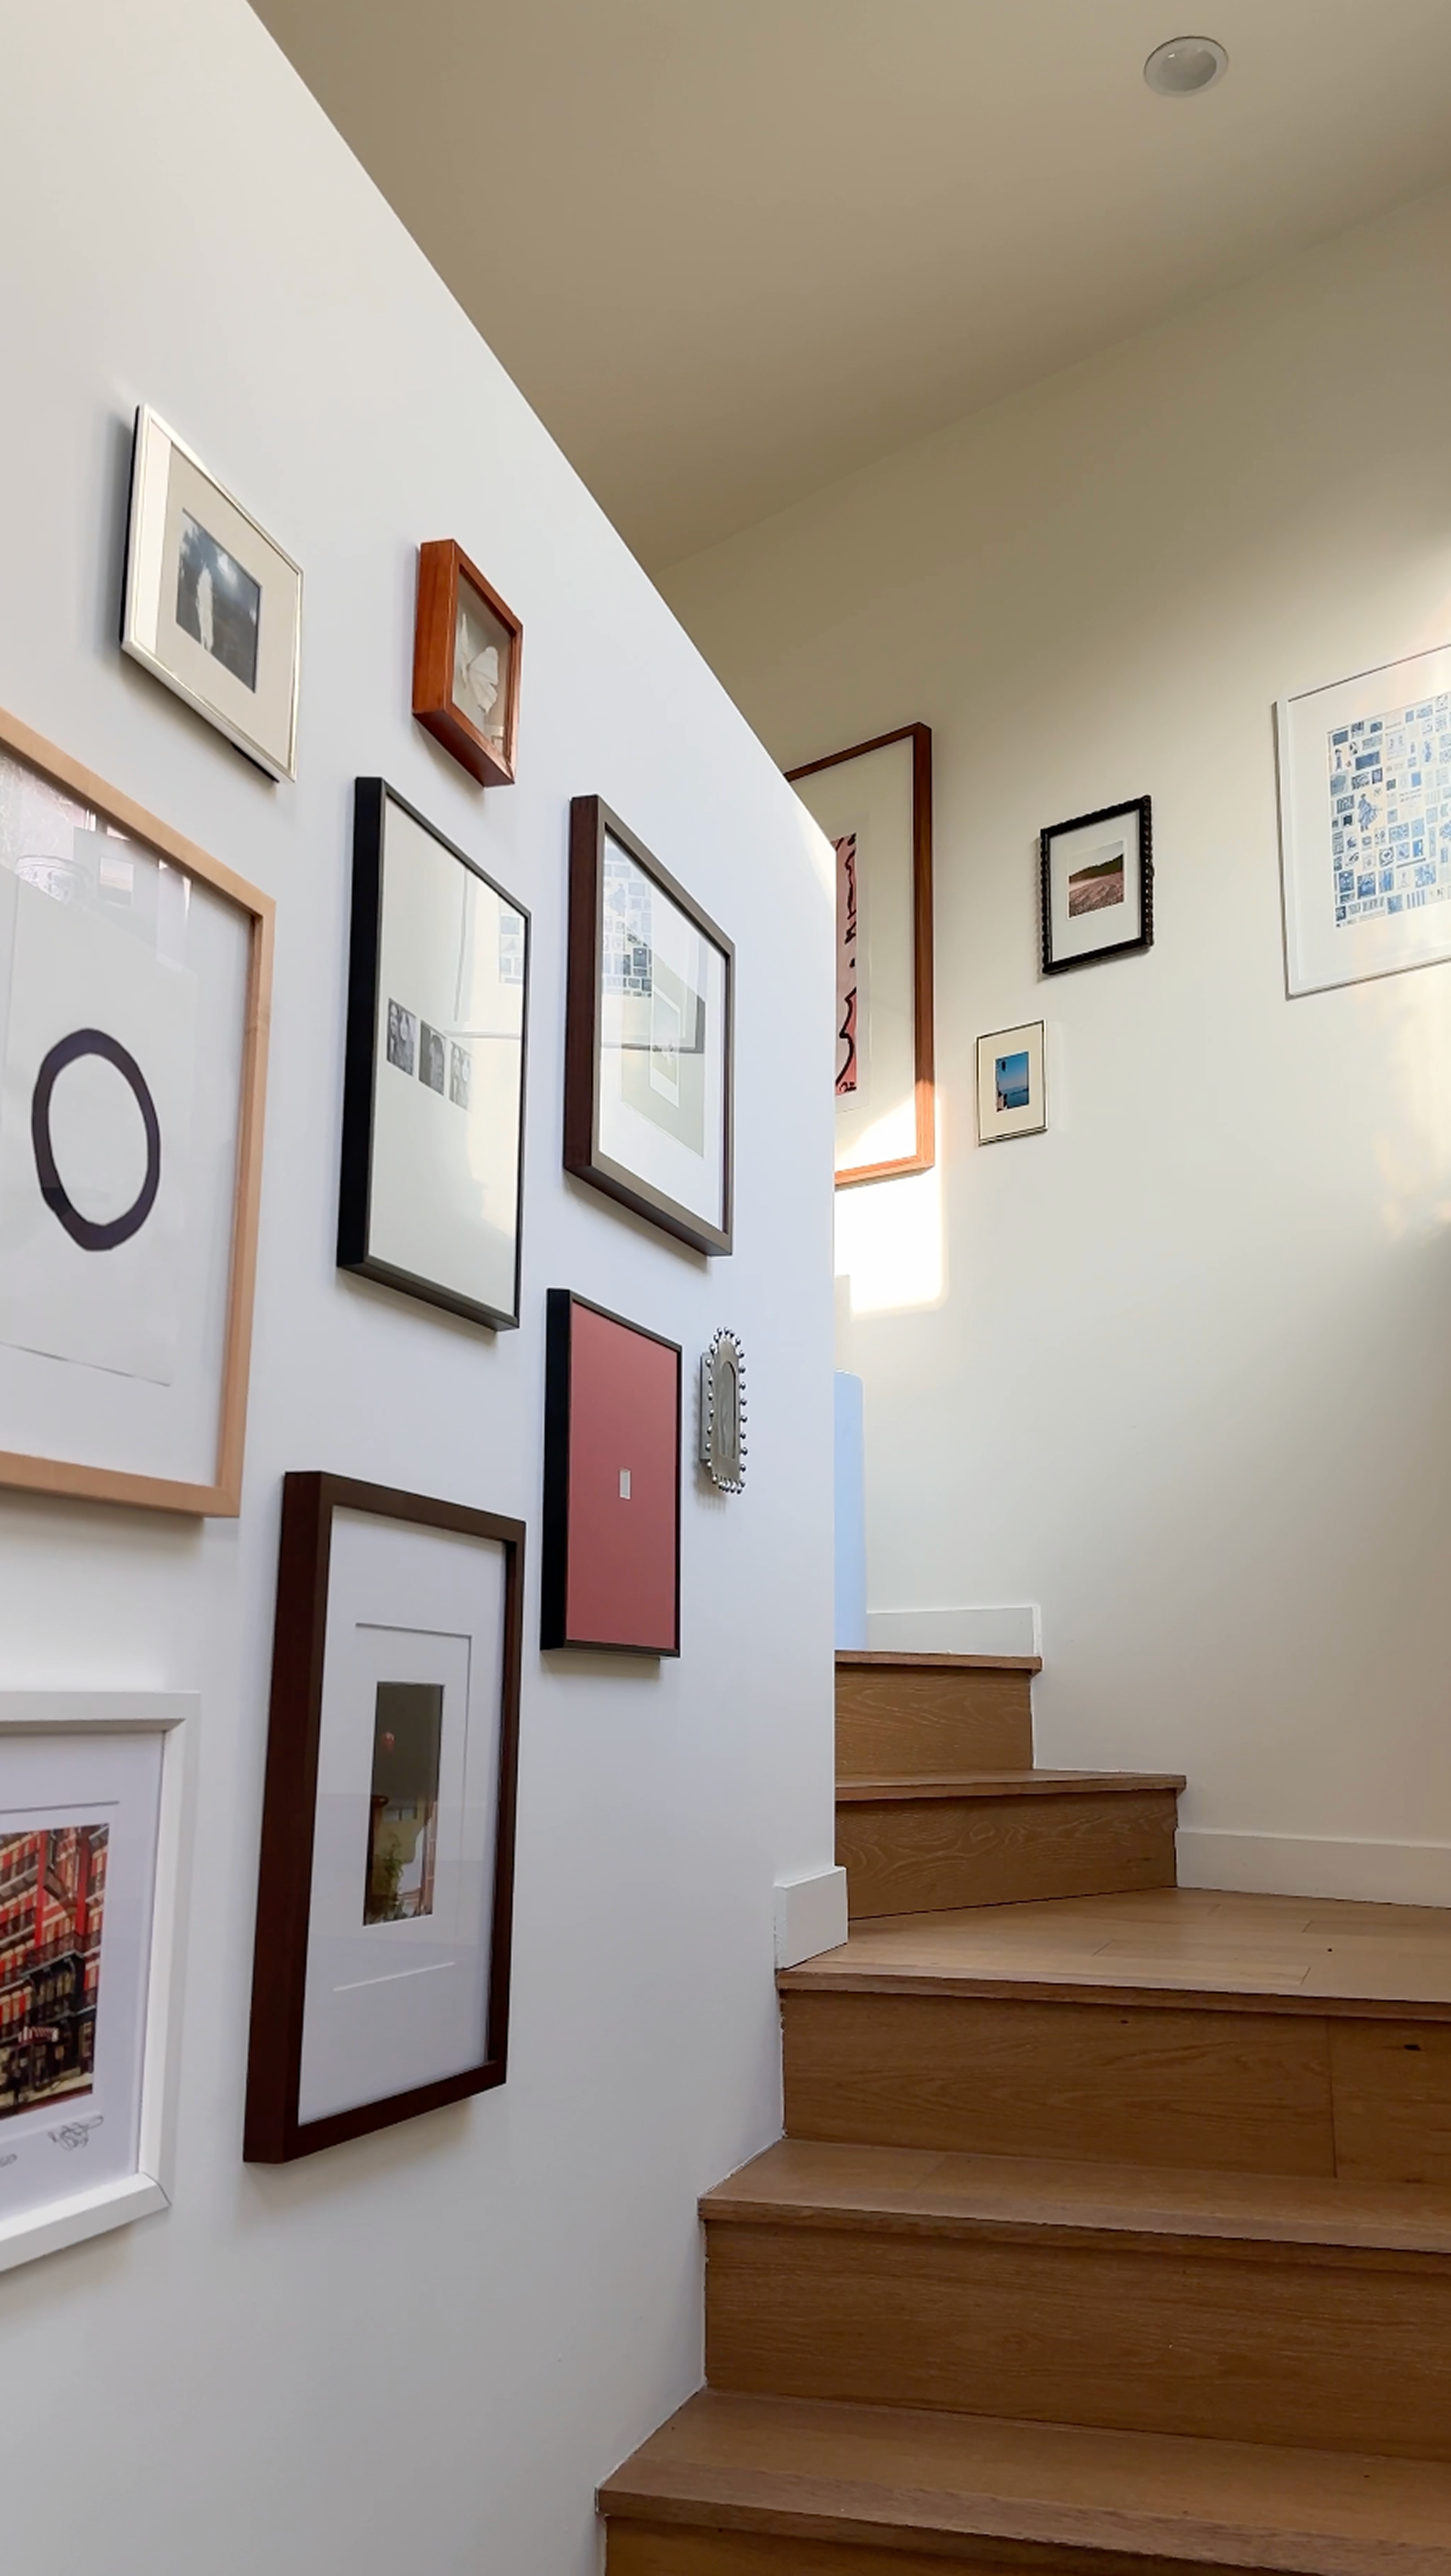
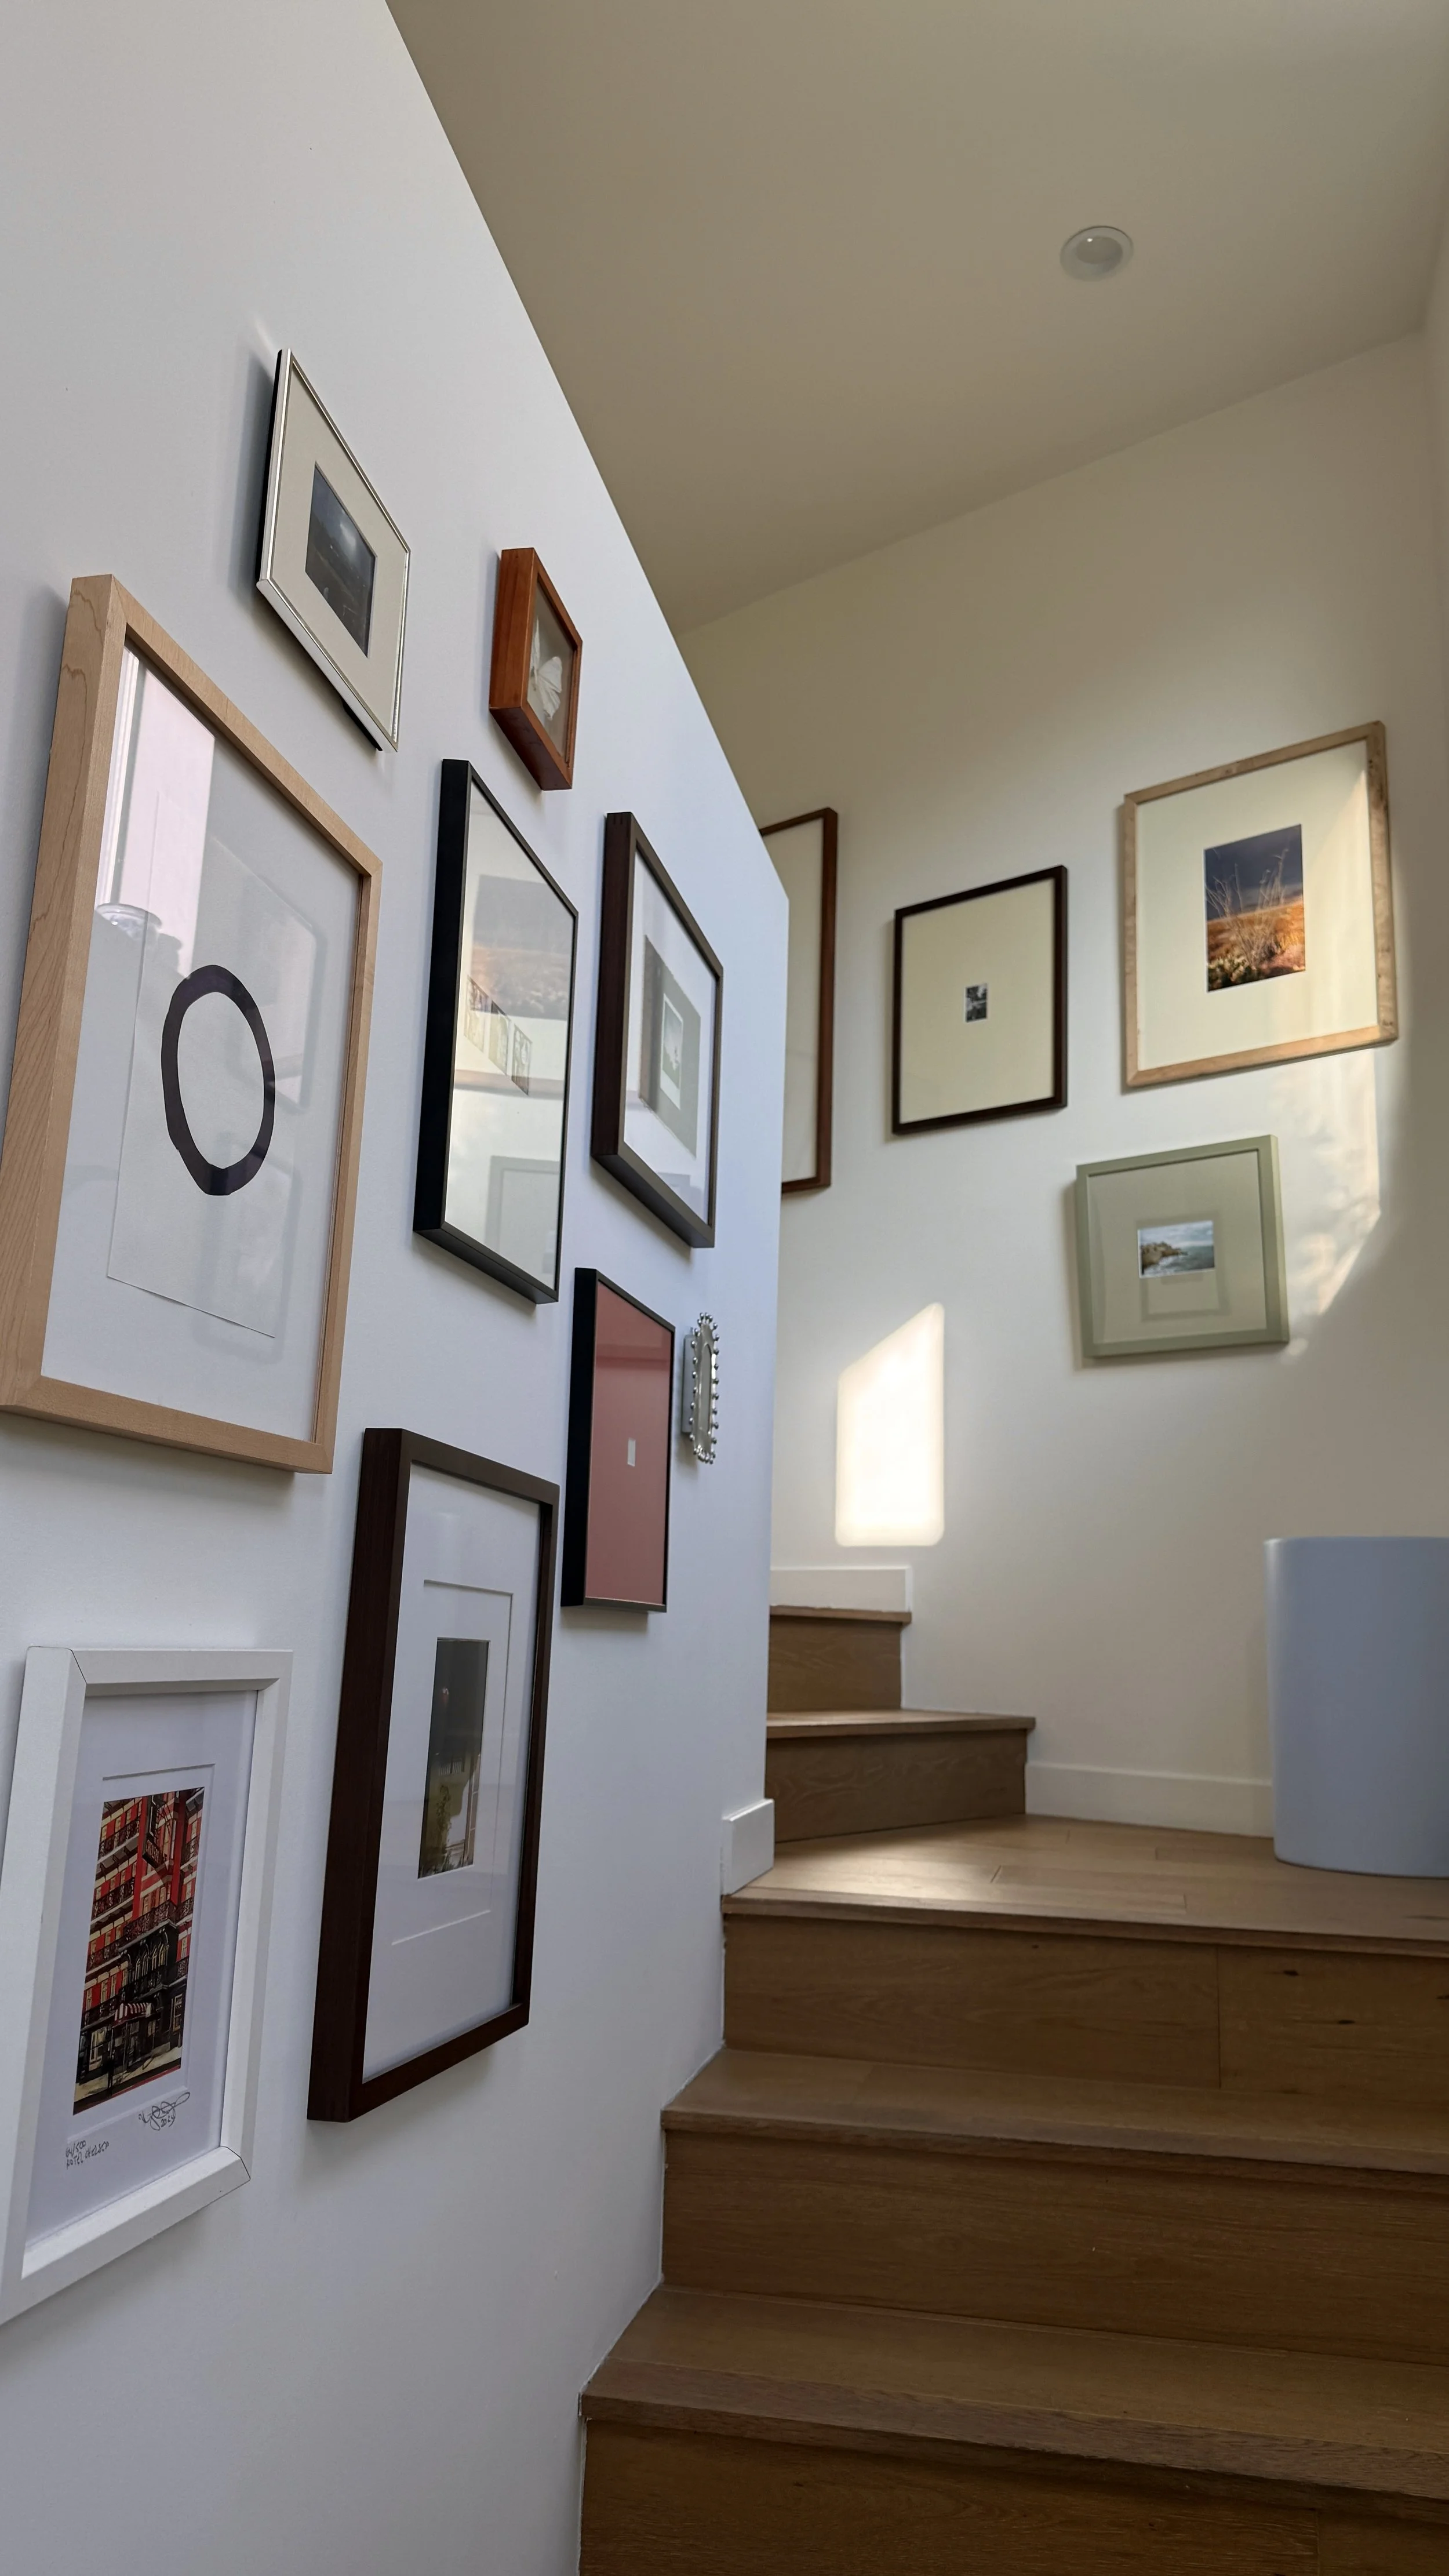
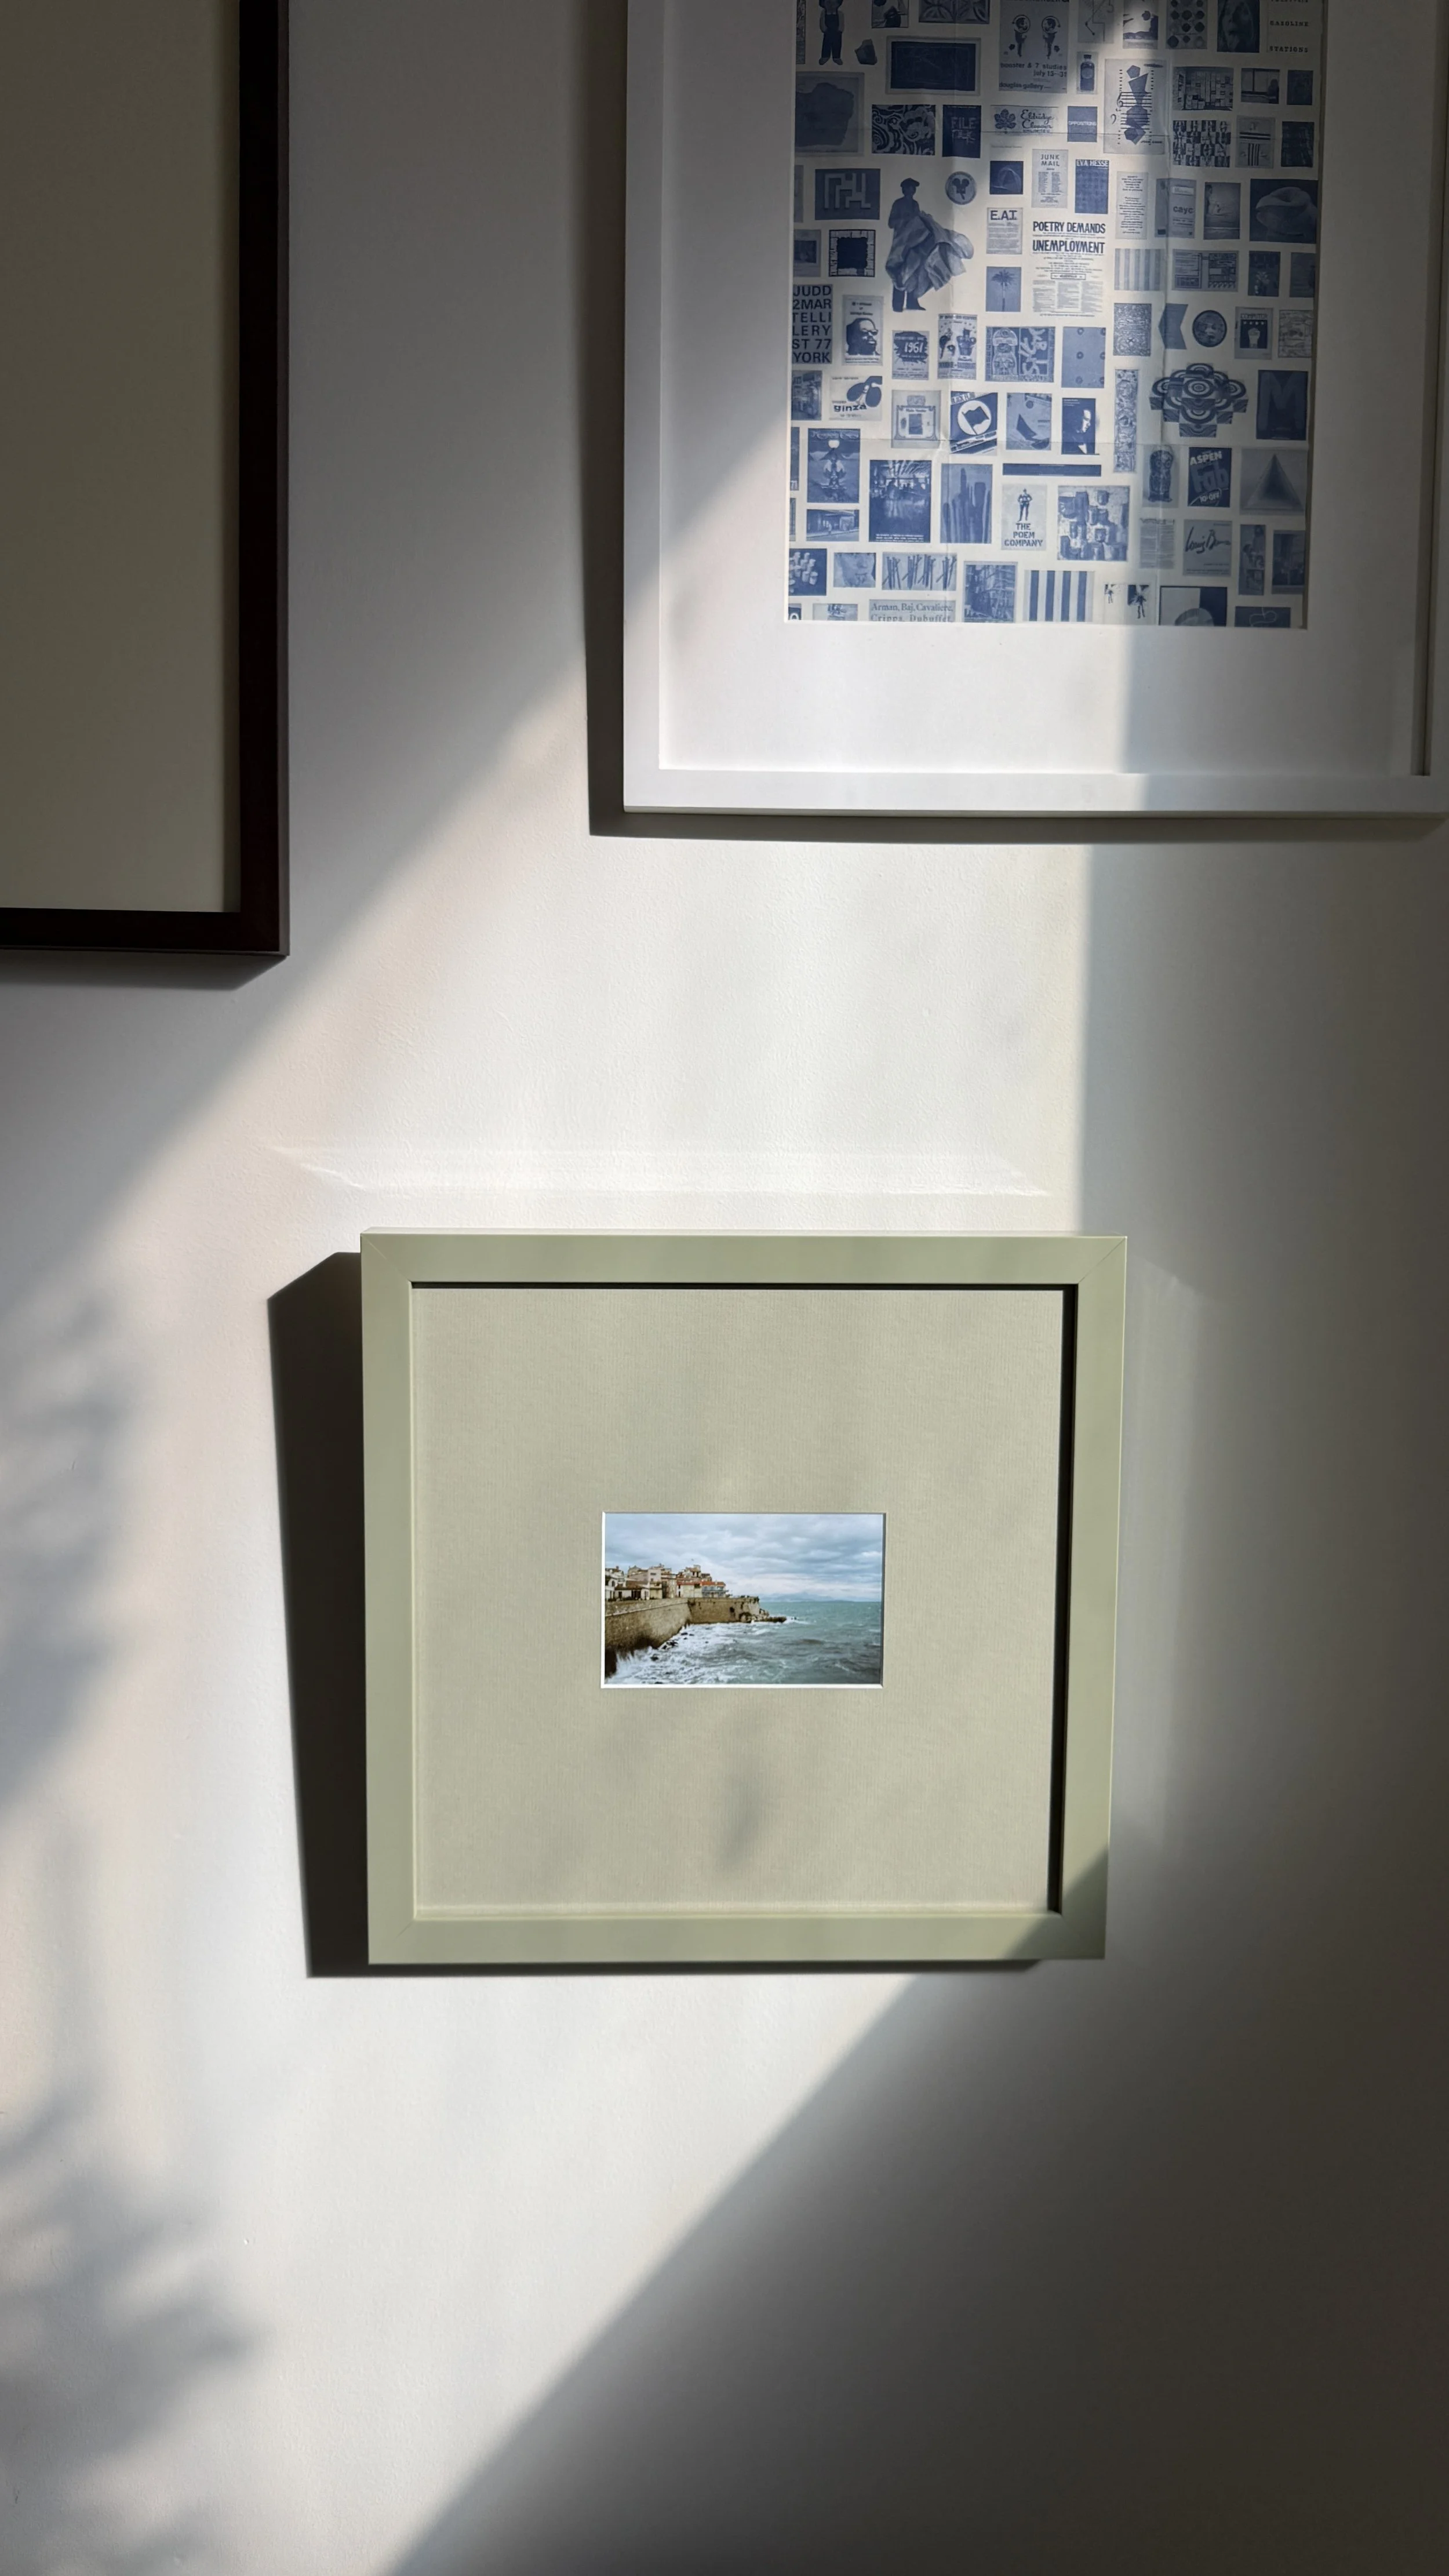
I’d really recommend hanging things up, letting the arrangement marinate for a few days, then changing the frames around until they feel right. It’s a lot of trial and error! I’d added the two smaller frames to the middle of the back wall with the intent of adding a third smaller one, but after a few days, it felt like it needed something more substantial, so I swapped it for the arrangement on the right. (And I imagine I’ll continue changing it around as I add more art.)
If you share any of these photos on Pinterest, please link this post or tag me — @samlandreth
I absolutely adore this green one: I went back and forth on photo options here, but ultimately thought a lighter-colored photo—with the hints of green in the houses—felt right paired with the soft green mat and frame. The mat has 4” on the top and bottom and 3” on the sides.
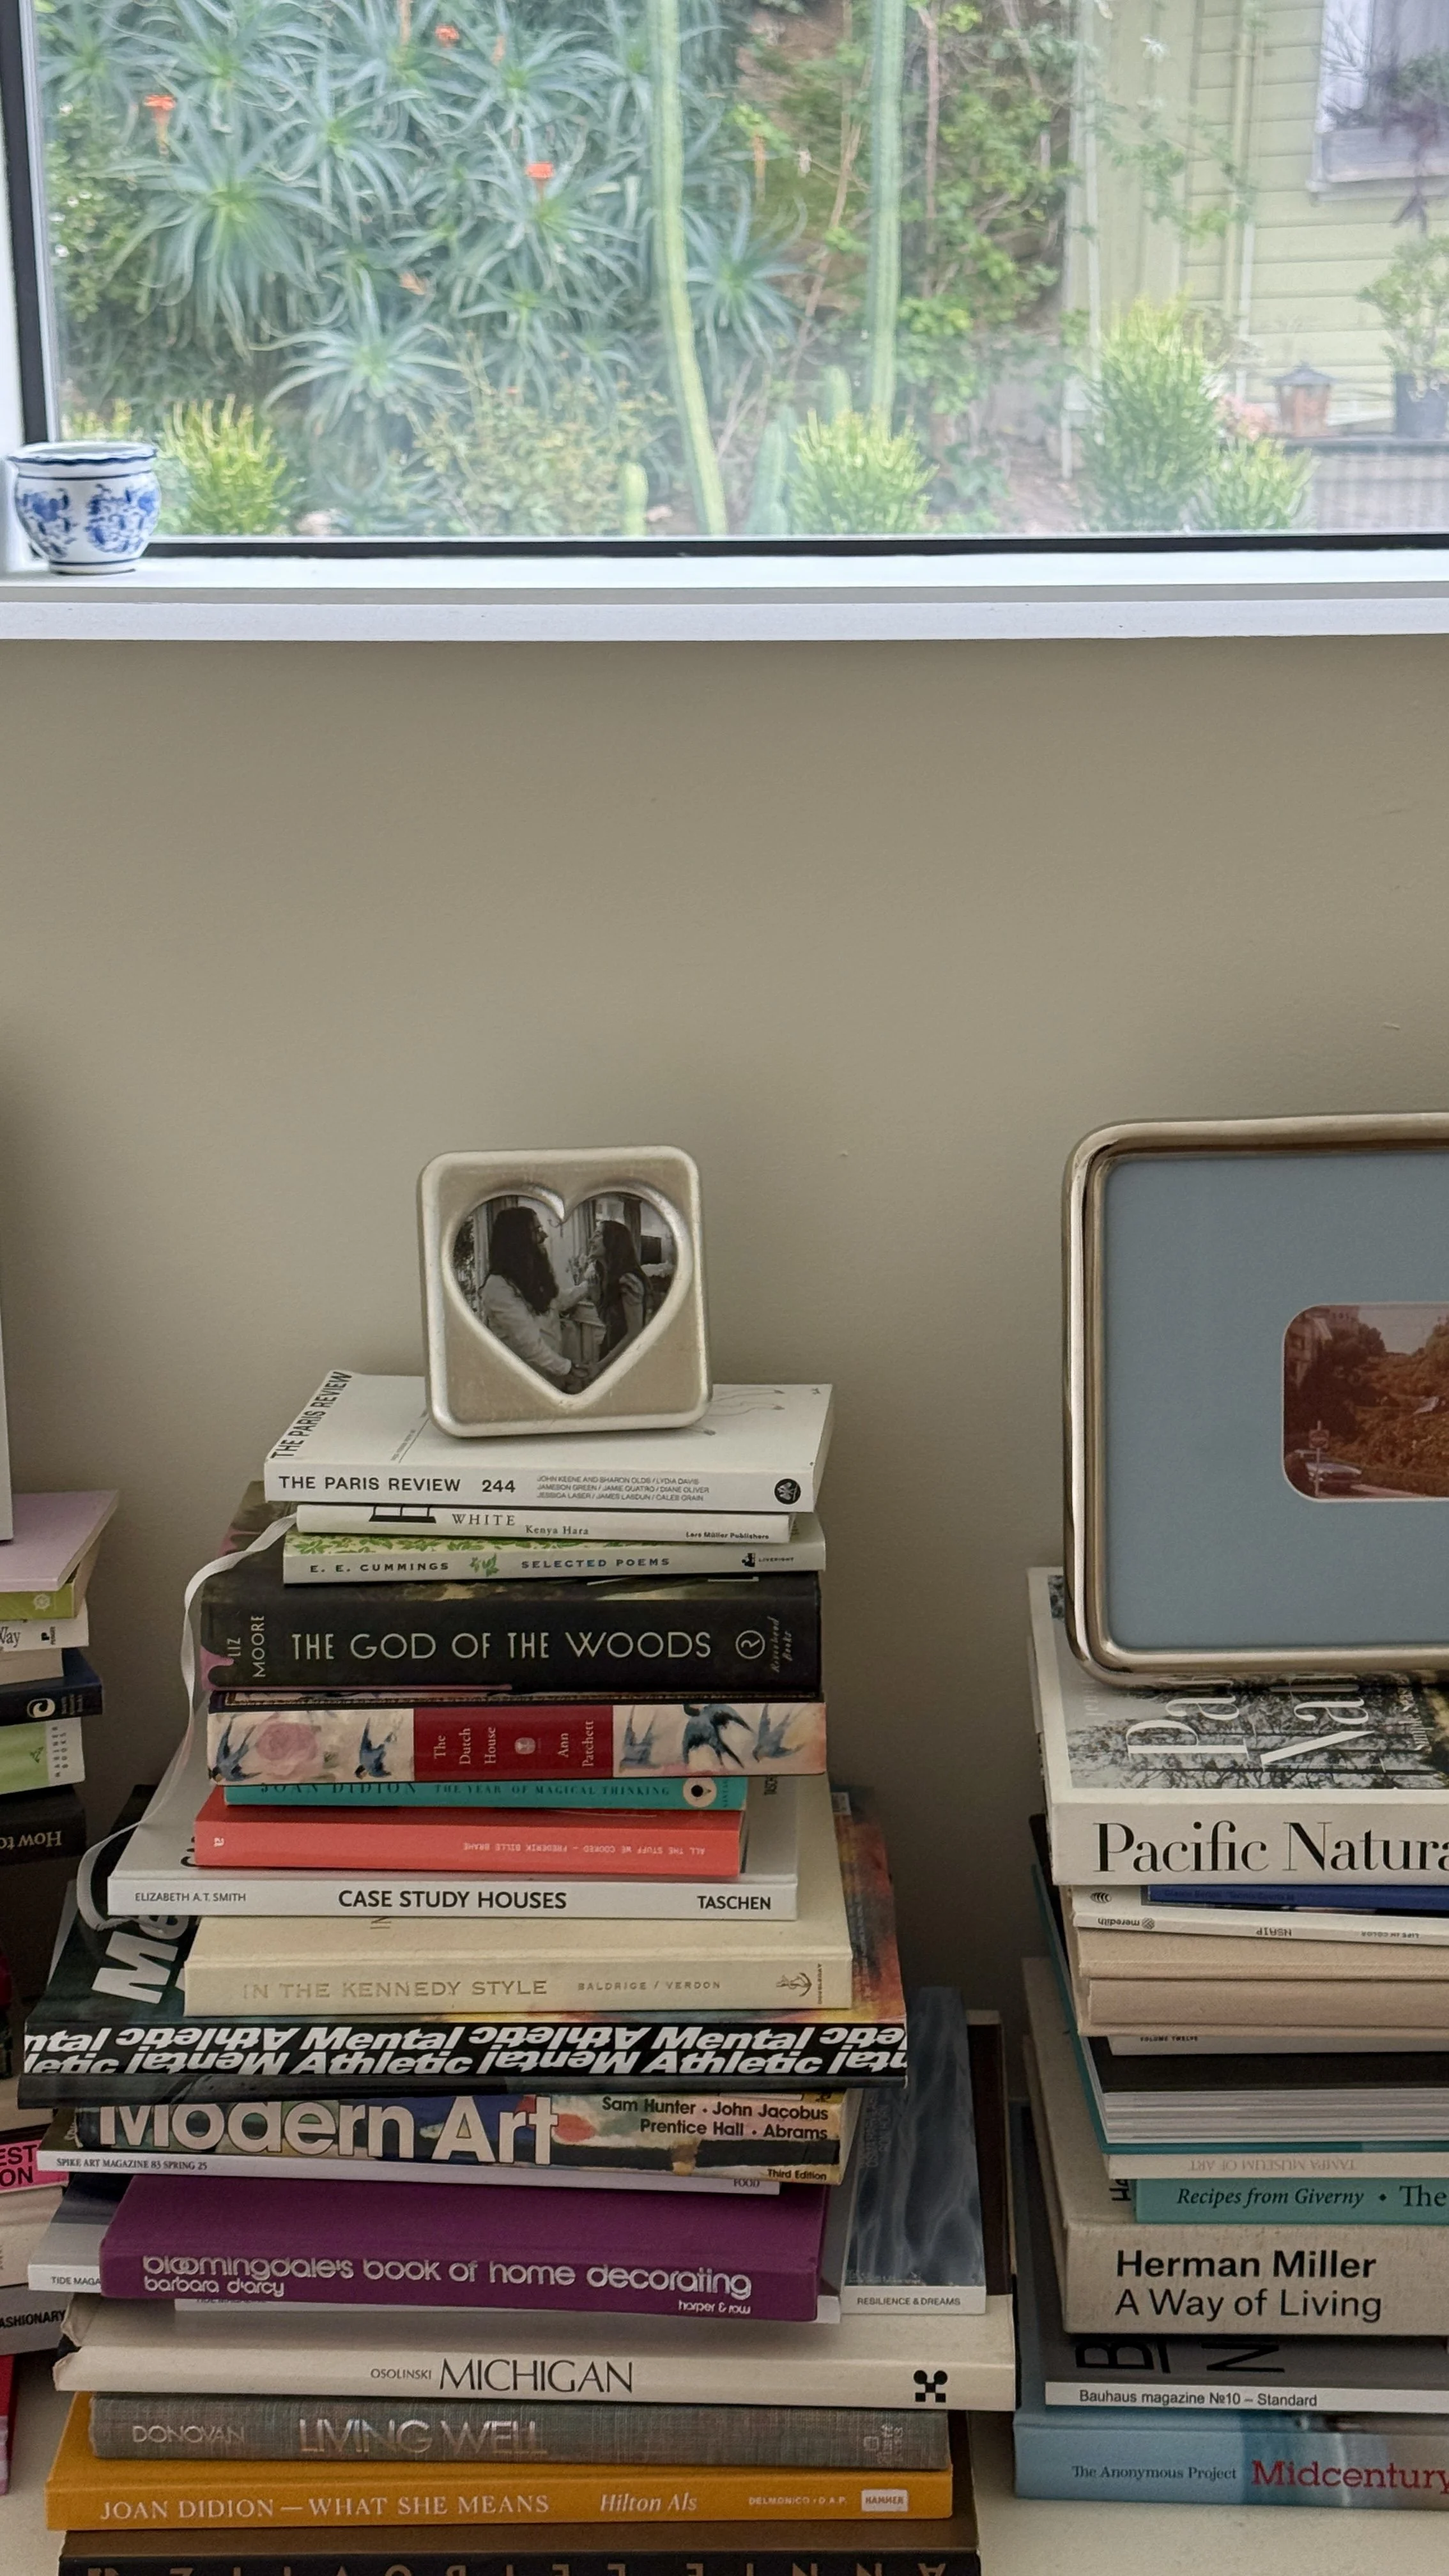
This puffy heart is so sweet as a Valentine’s Day gift (the silver one is back in stock, btw). I realized we hadn’t printed any photos from our engagement so this felt like a fitting occasion to order something!
If you share any of these photos on Pinterest, please link this post or tag me — @samlandreth
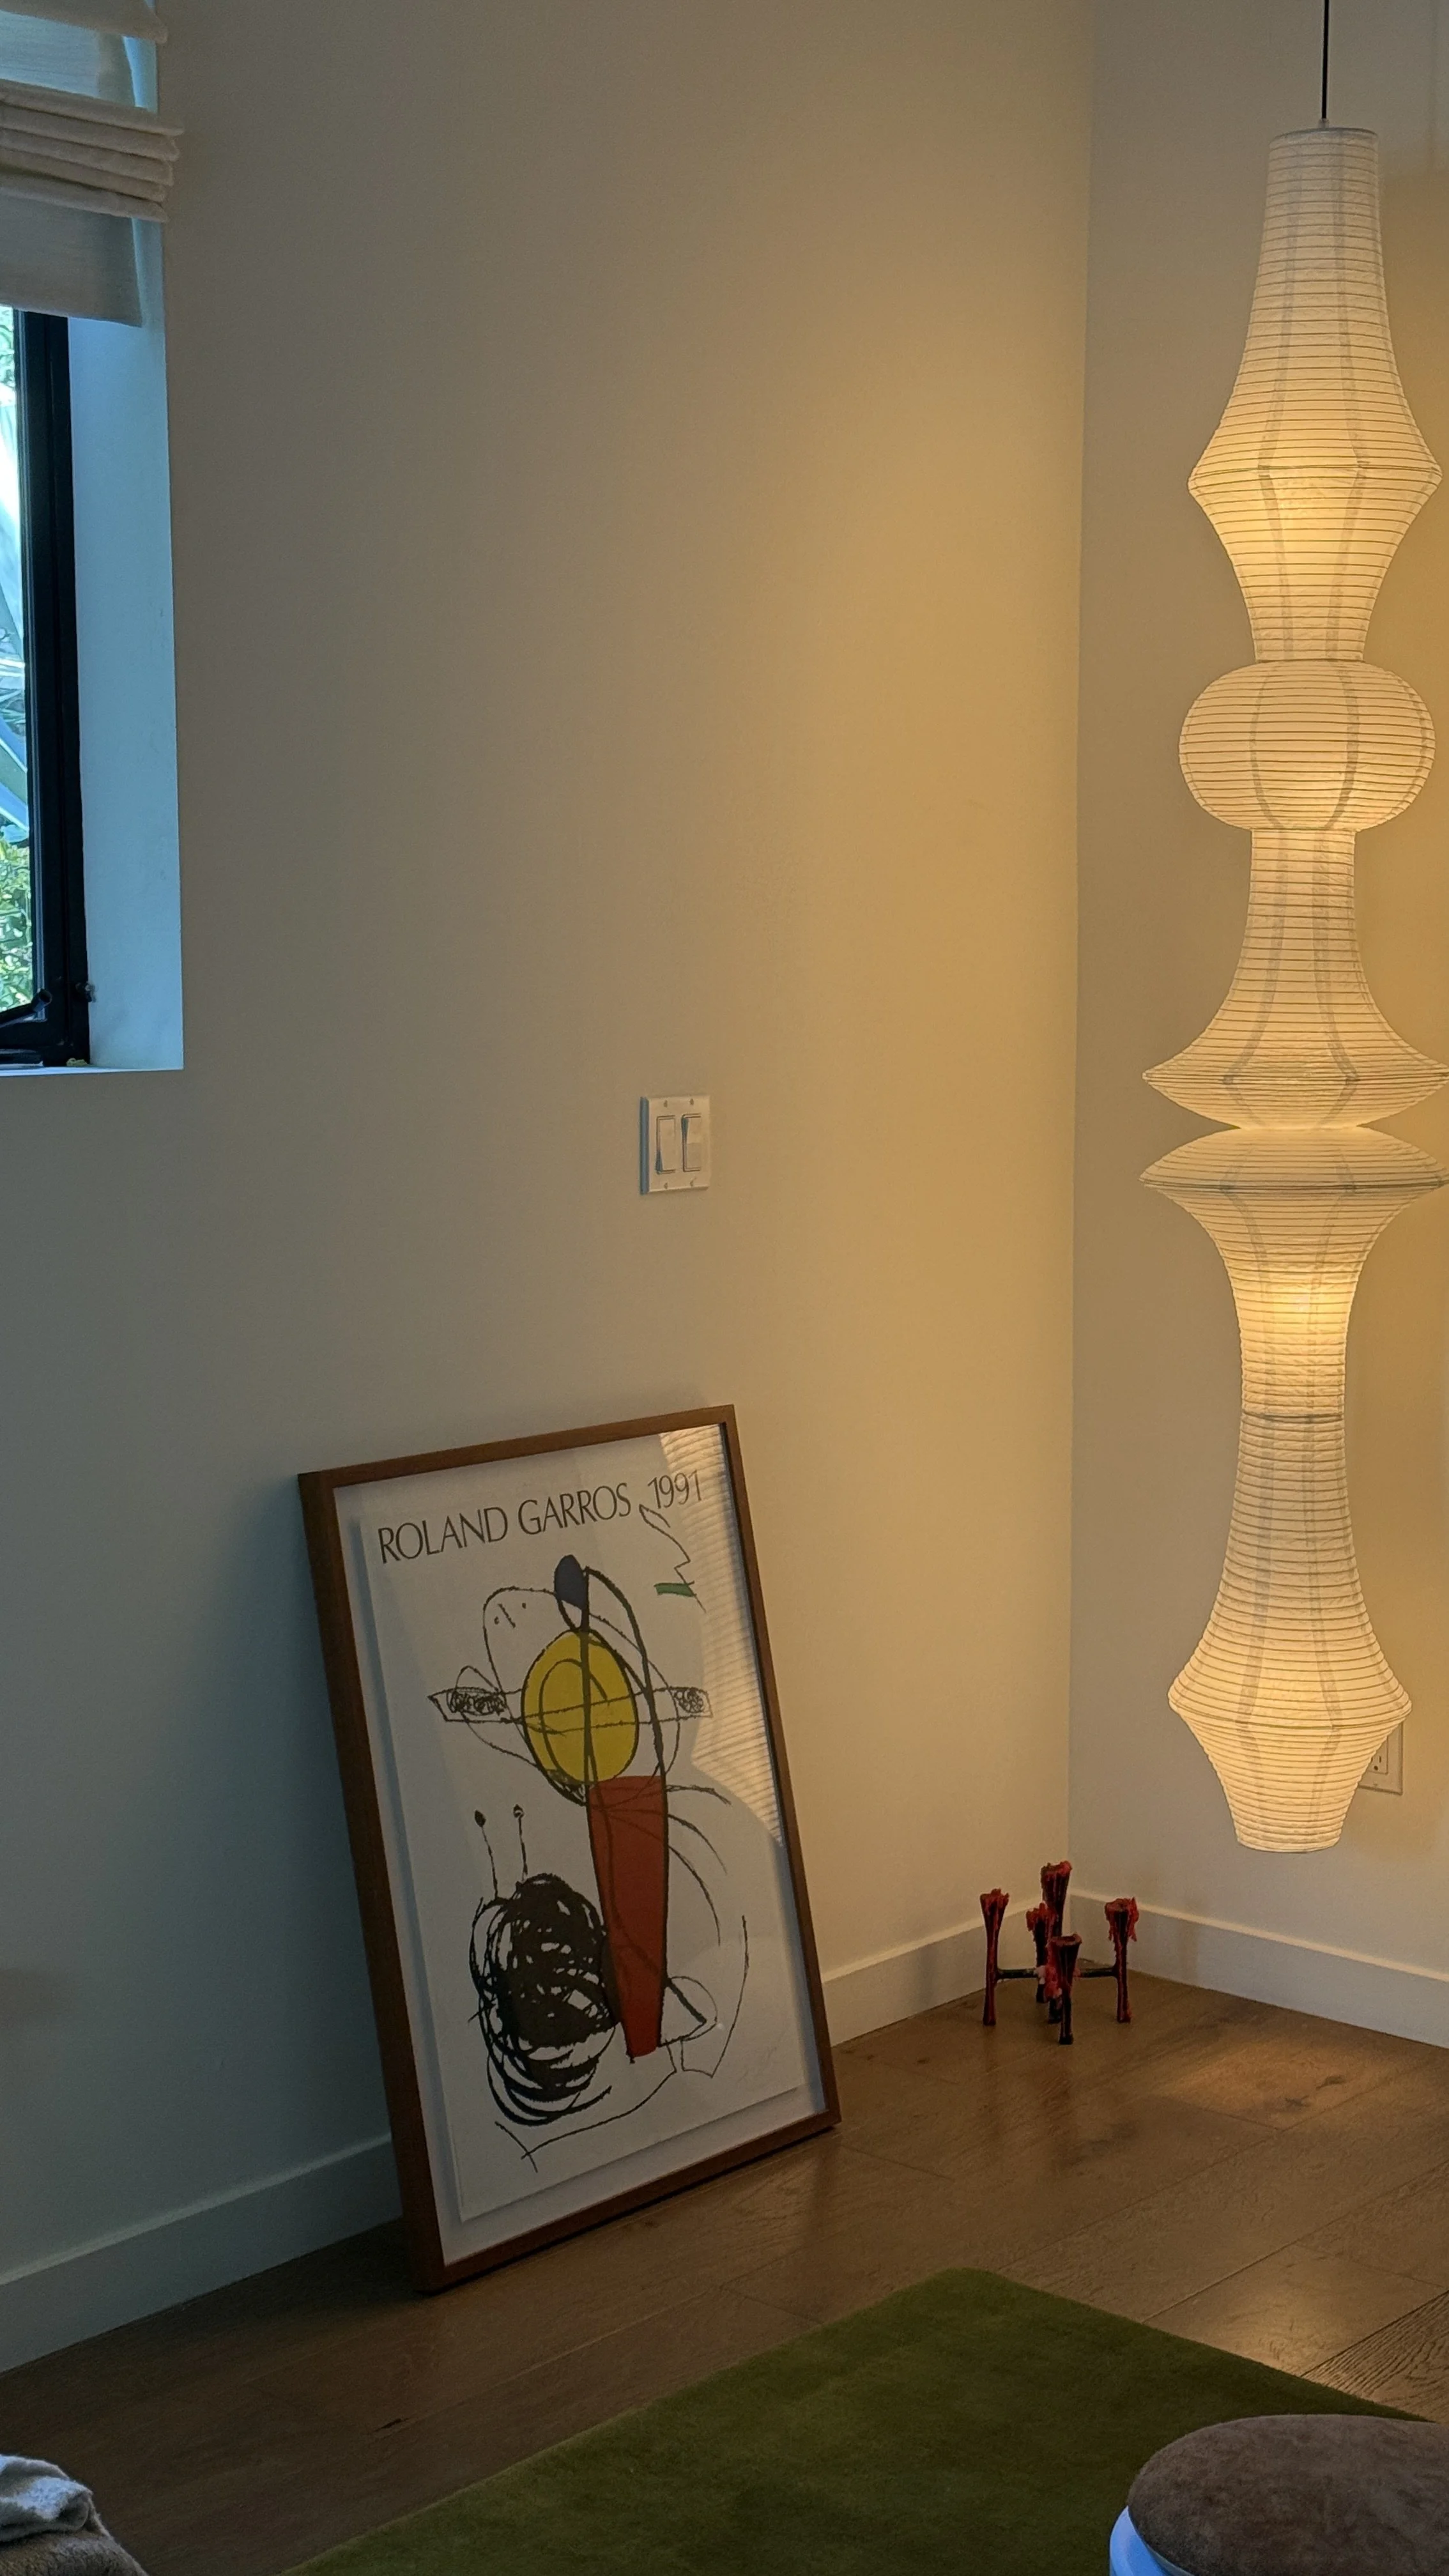
We got this Roland Garros poster by Joan Miro (27” x 34”) a few years ago, and we’ve been waiting for the right frame and place to put it. We float-mounted it over a plain white mat, and just added a couple inches on all sides of the mat.
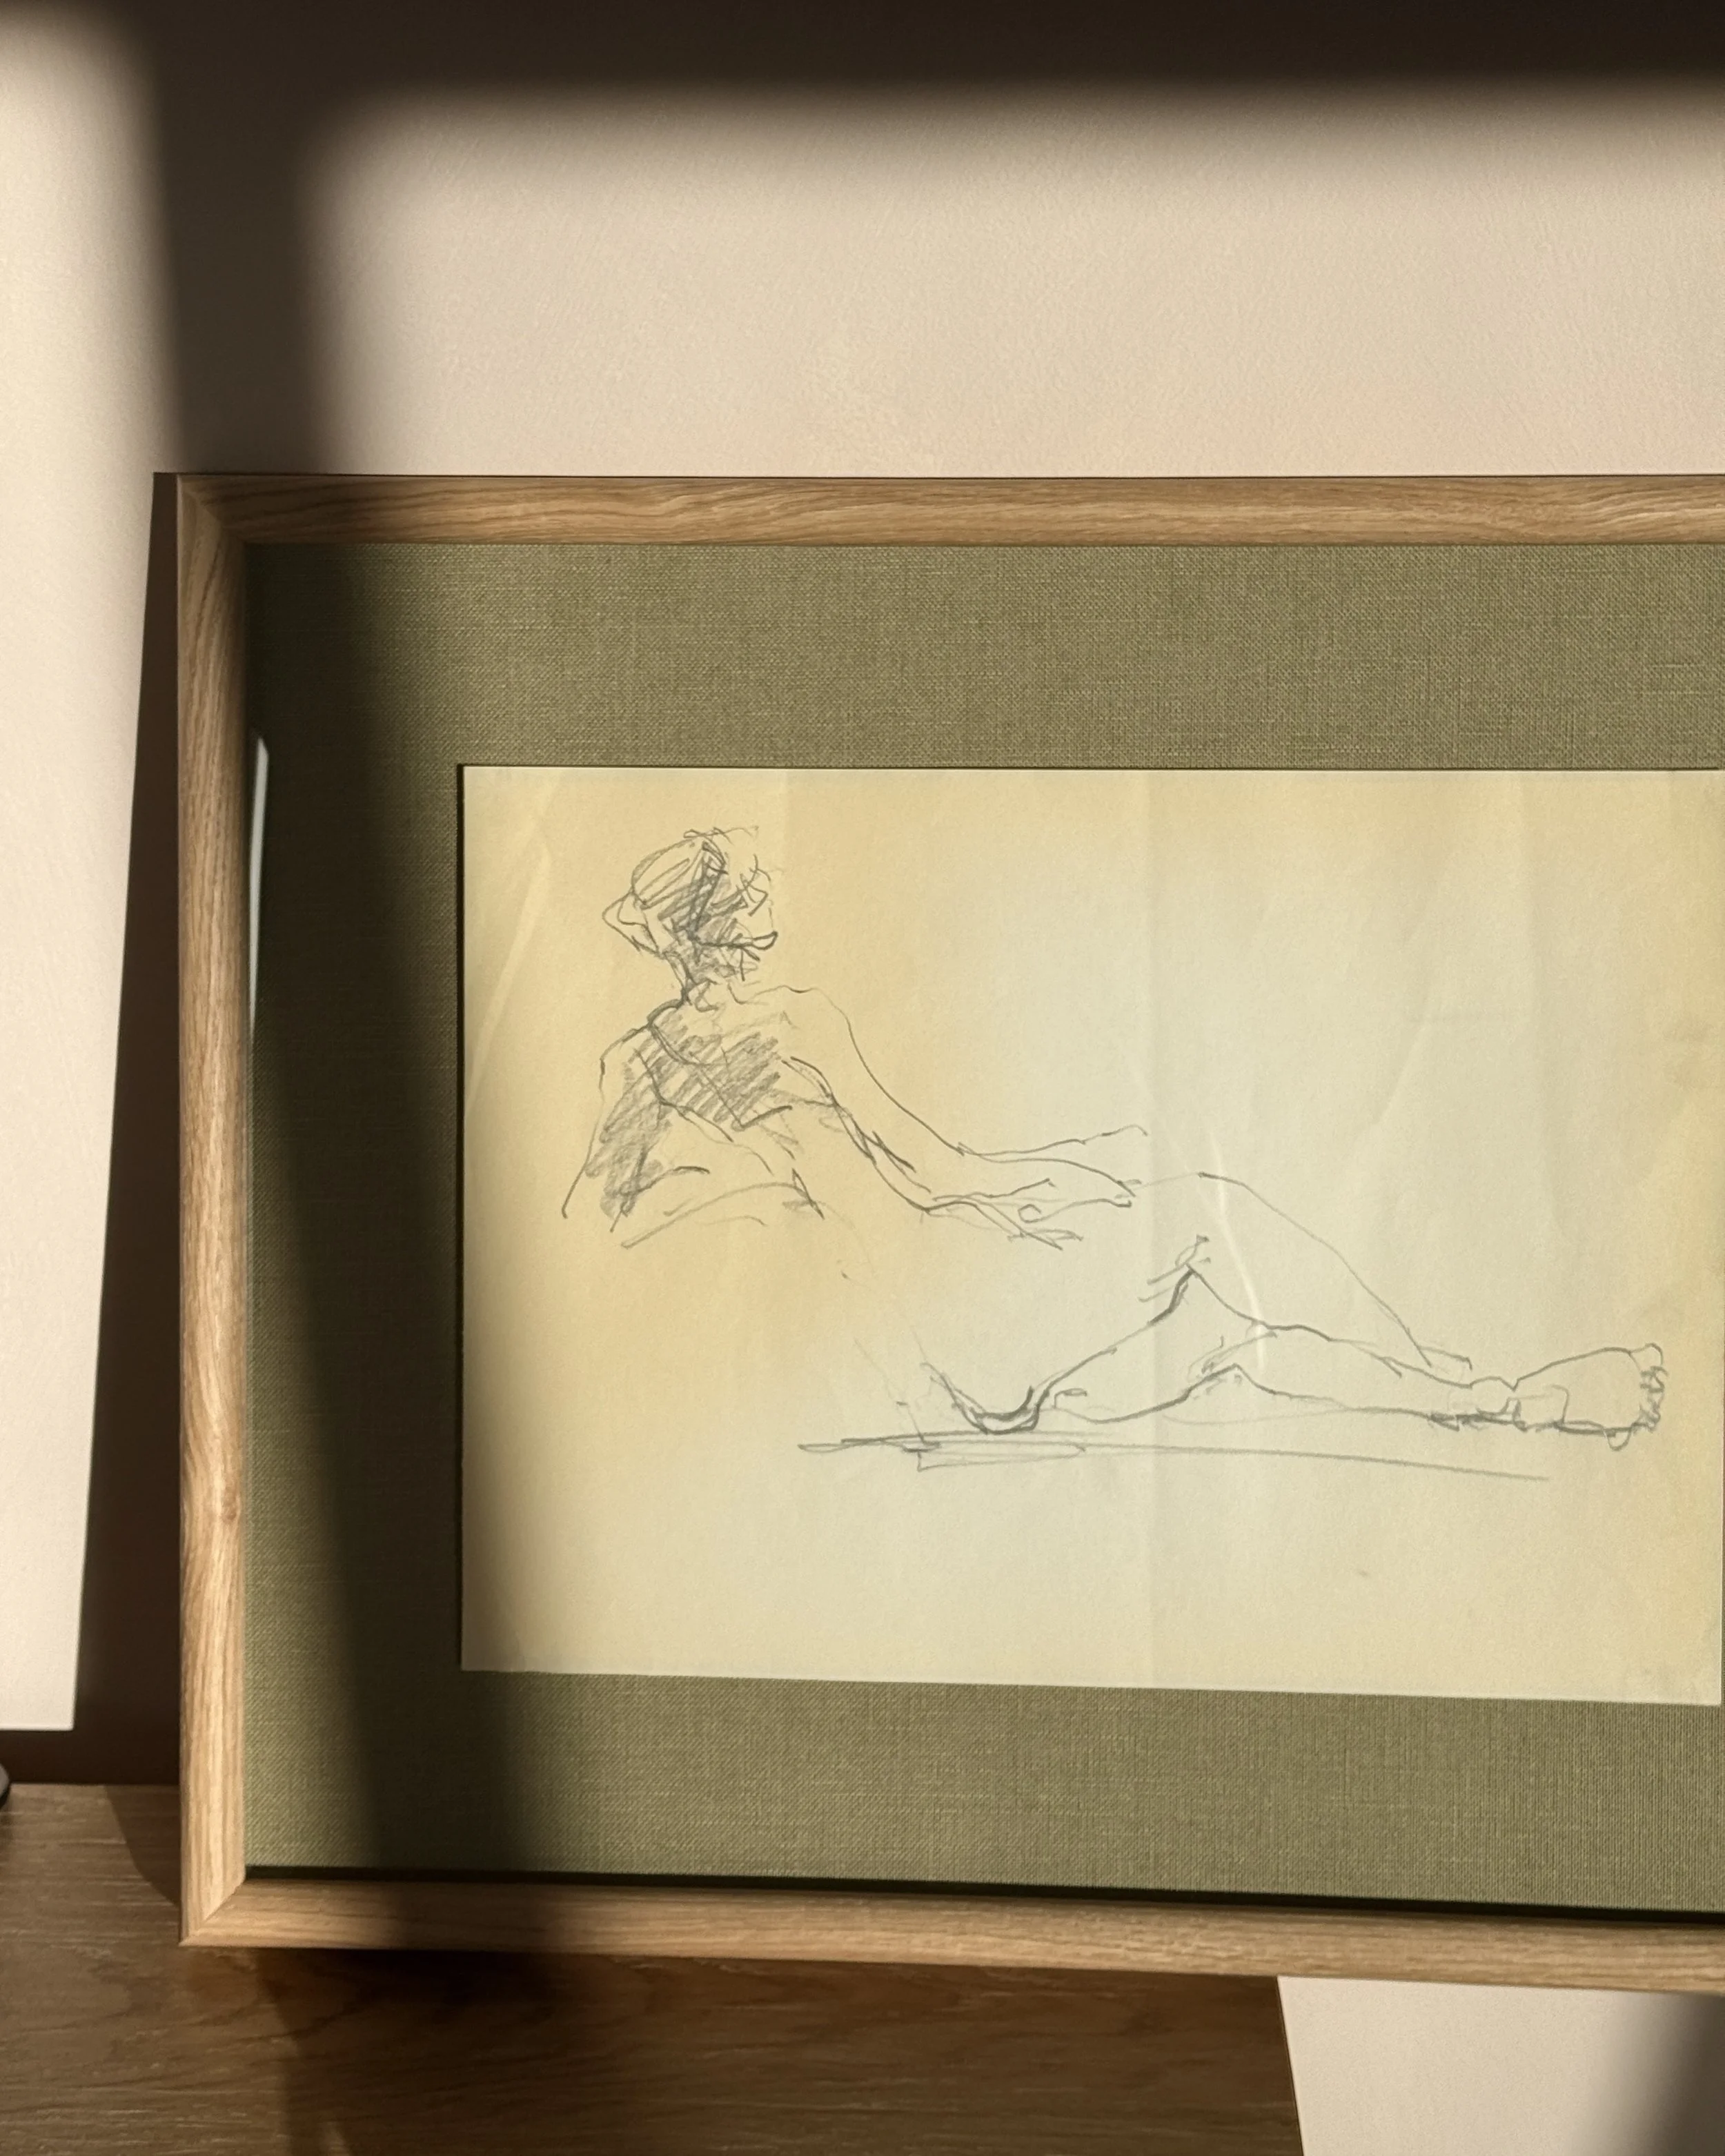
If you tap in to view this frame, you’ll see that we were heavily inspired by the product photo. The rounded burl frame paired with green mat simply looked too good to pass up, but we ended up ordering the linen mat instead of the paper shown in the product photo. The sketch is 16” x 11” and we went with the standard mat.
As much as I love colorful mats and varied layouts, I like to balance those out with the majority of mats in white and cream—especially for larger pieces like these. We got this print in Japan (it’s 23.25" x 21.25") and added 3” to each side of the cream-colored mat, and this is the frame we chose.
If you share any of these photos on Pinterest, please link this post or tag me — @samlandreth
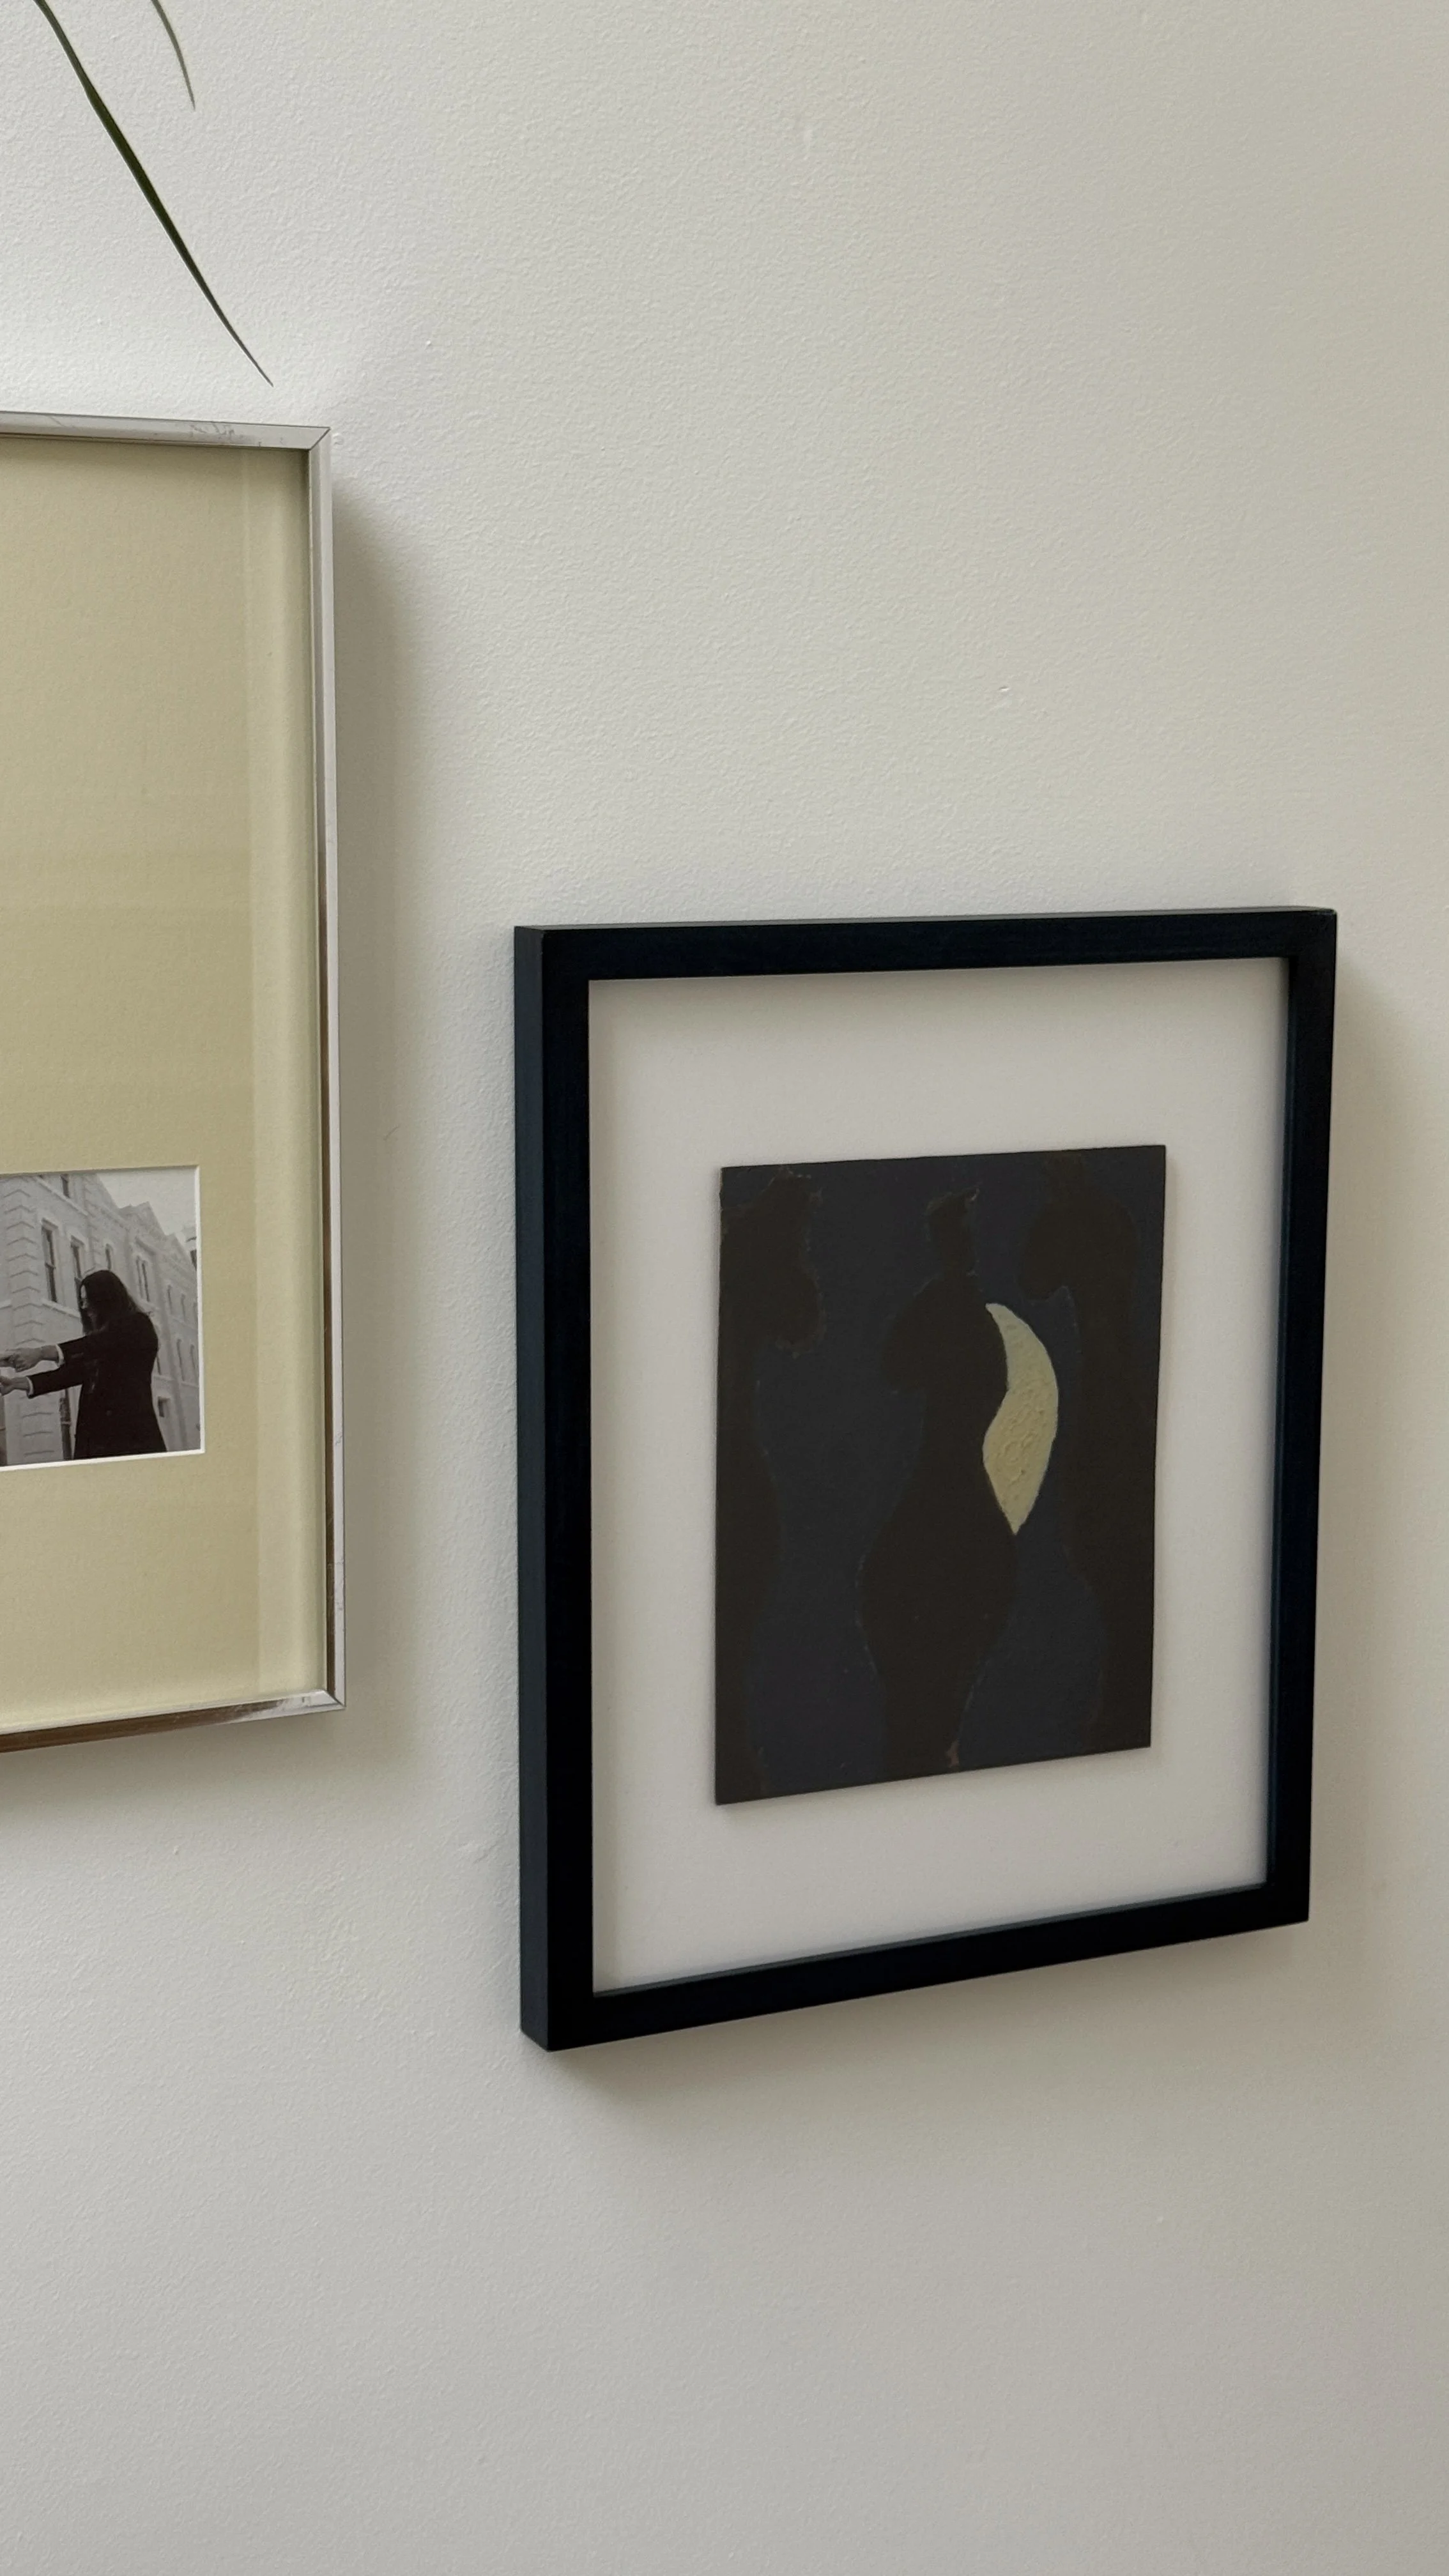
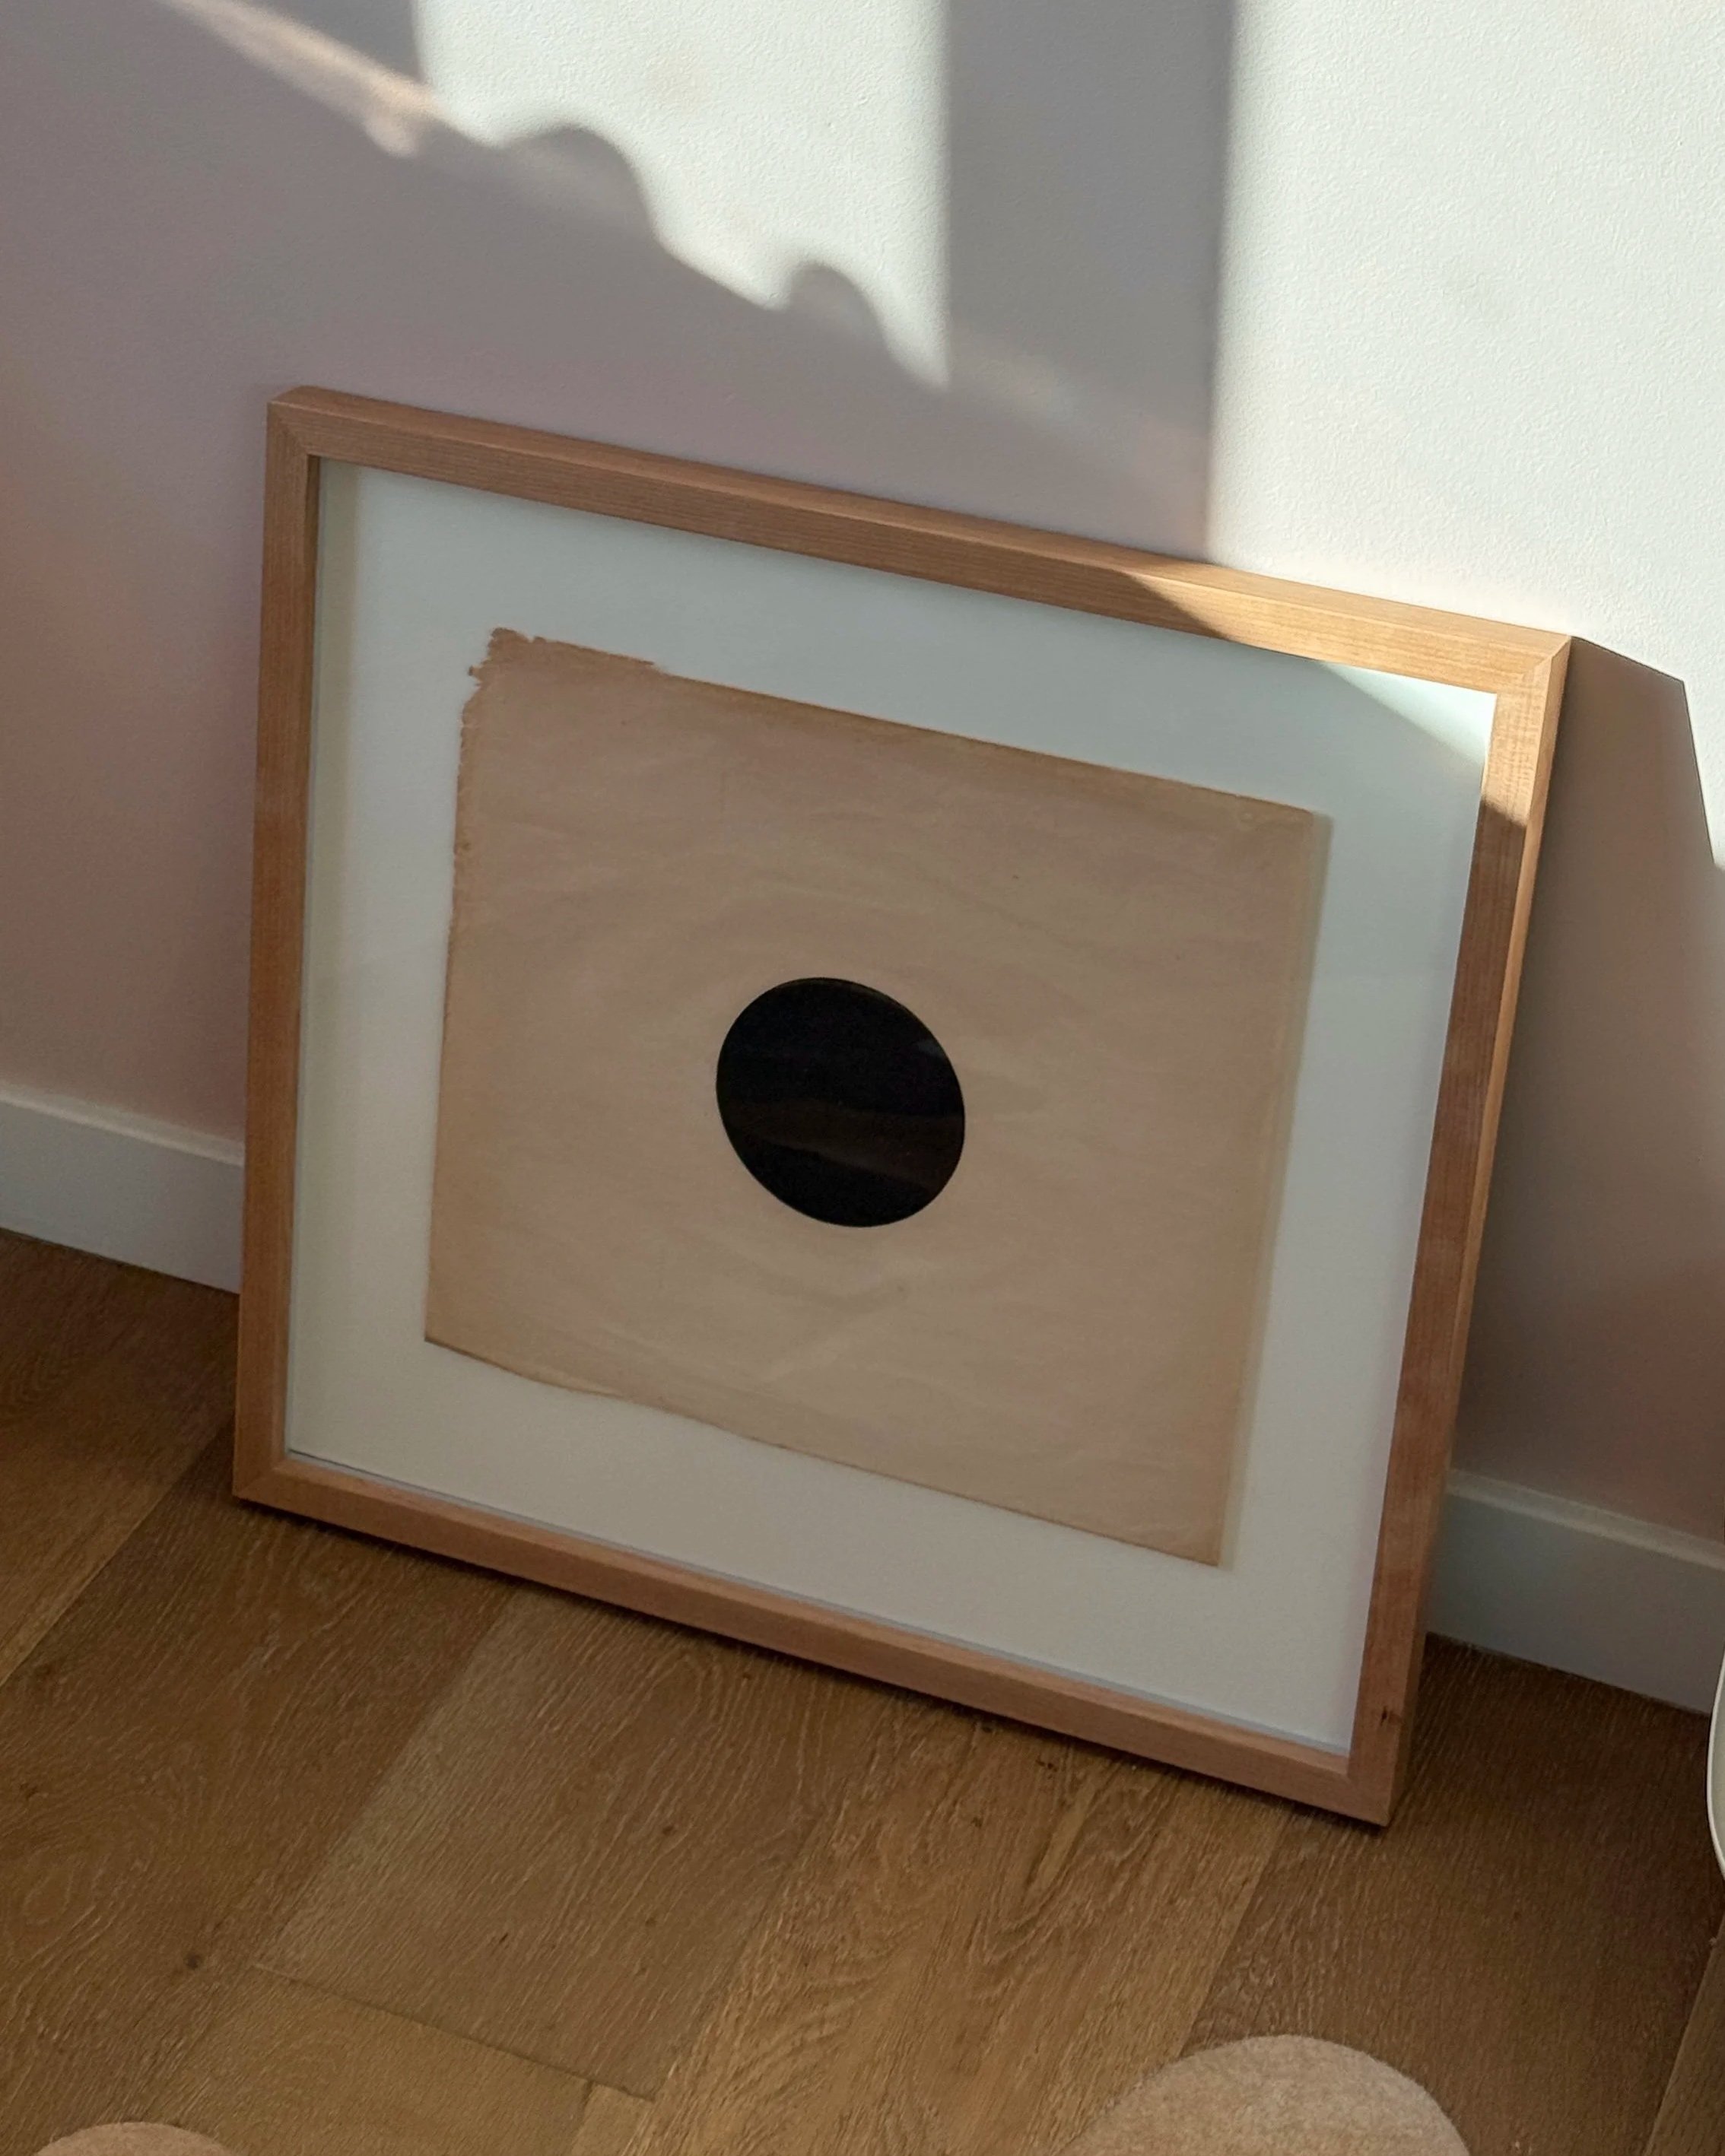
I float-mounted this print from our friend Ben in this 25”x25” frame using foam-core and acid-free tape on all sides.

I got this photo framed a few years ago, and the maple looks good paired with just about anything. It’s a recent addition to the kitchen, and I’m thinking I’ll add a second black and white photo in the same frame stacked on top of it!
If you share any of these photos on Pinterest, please link this post or tag me — @samlandreth
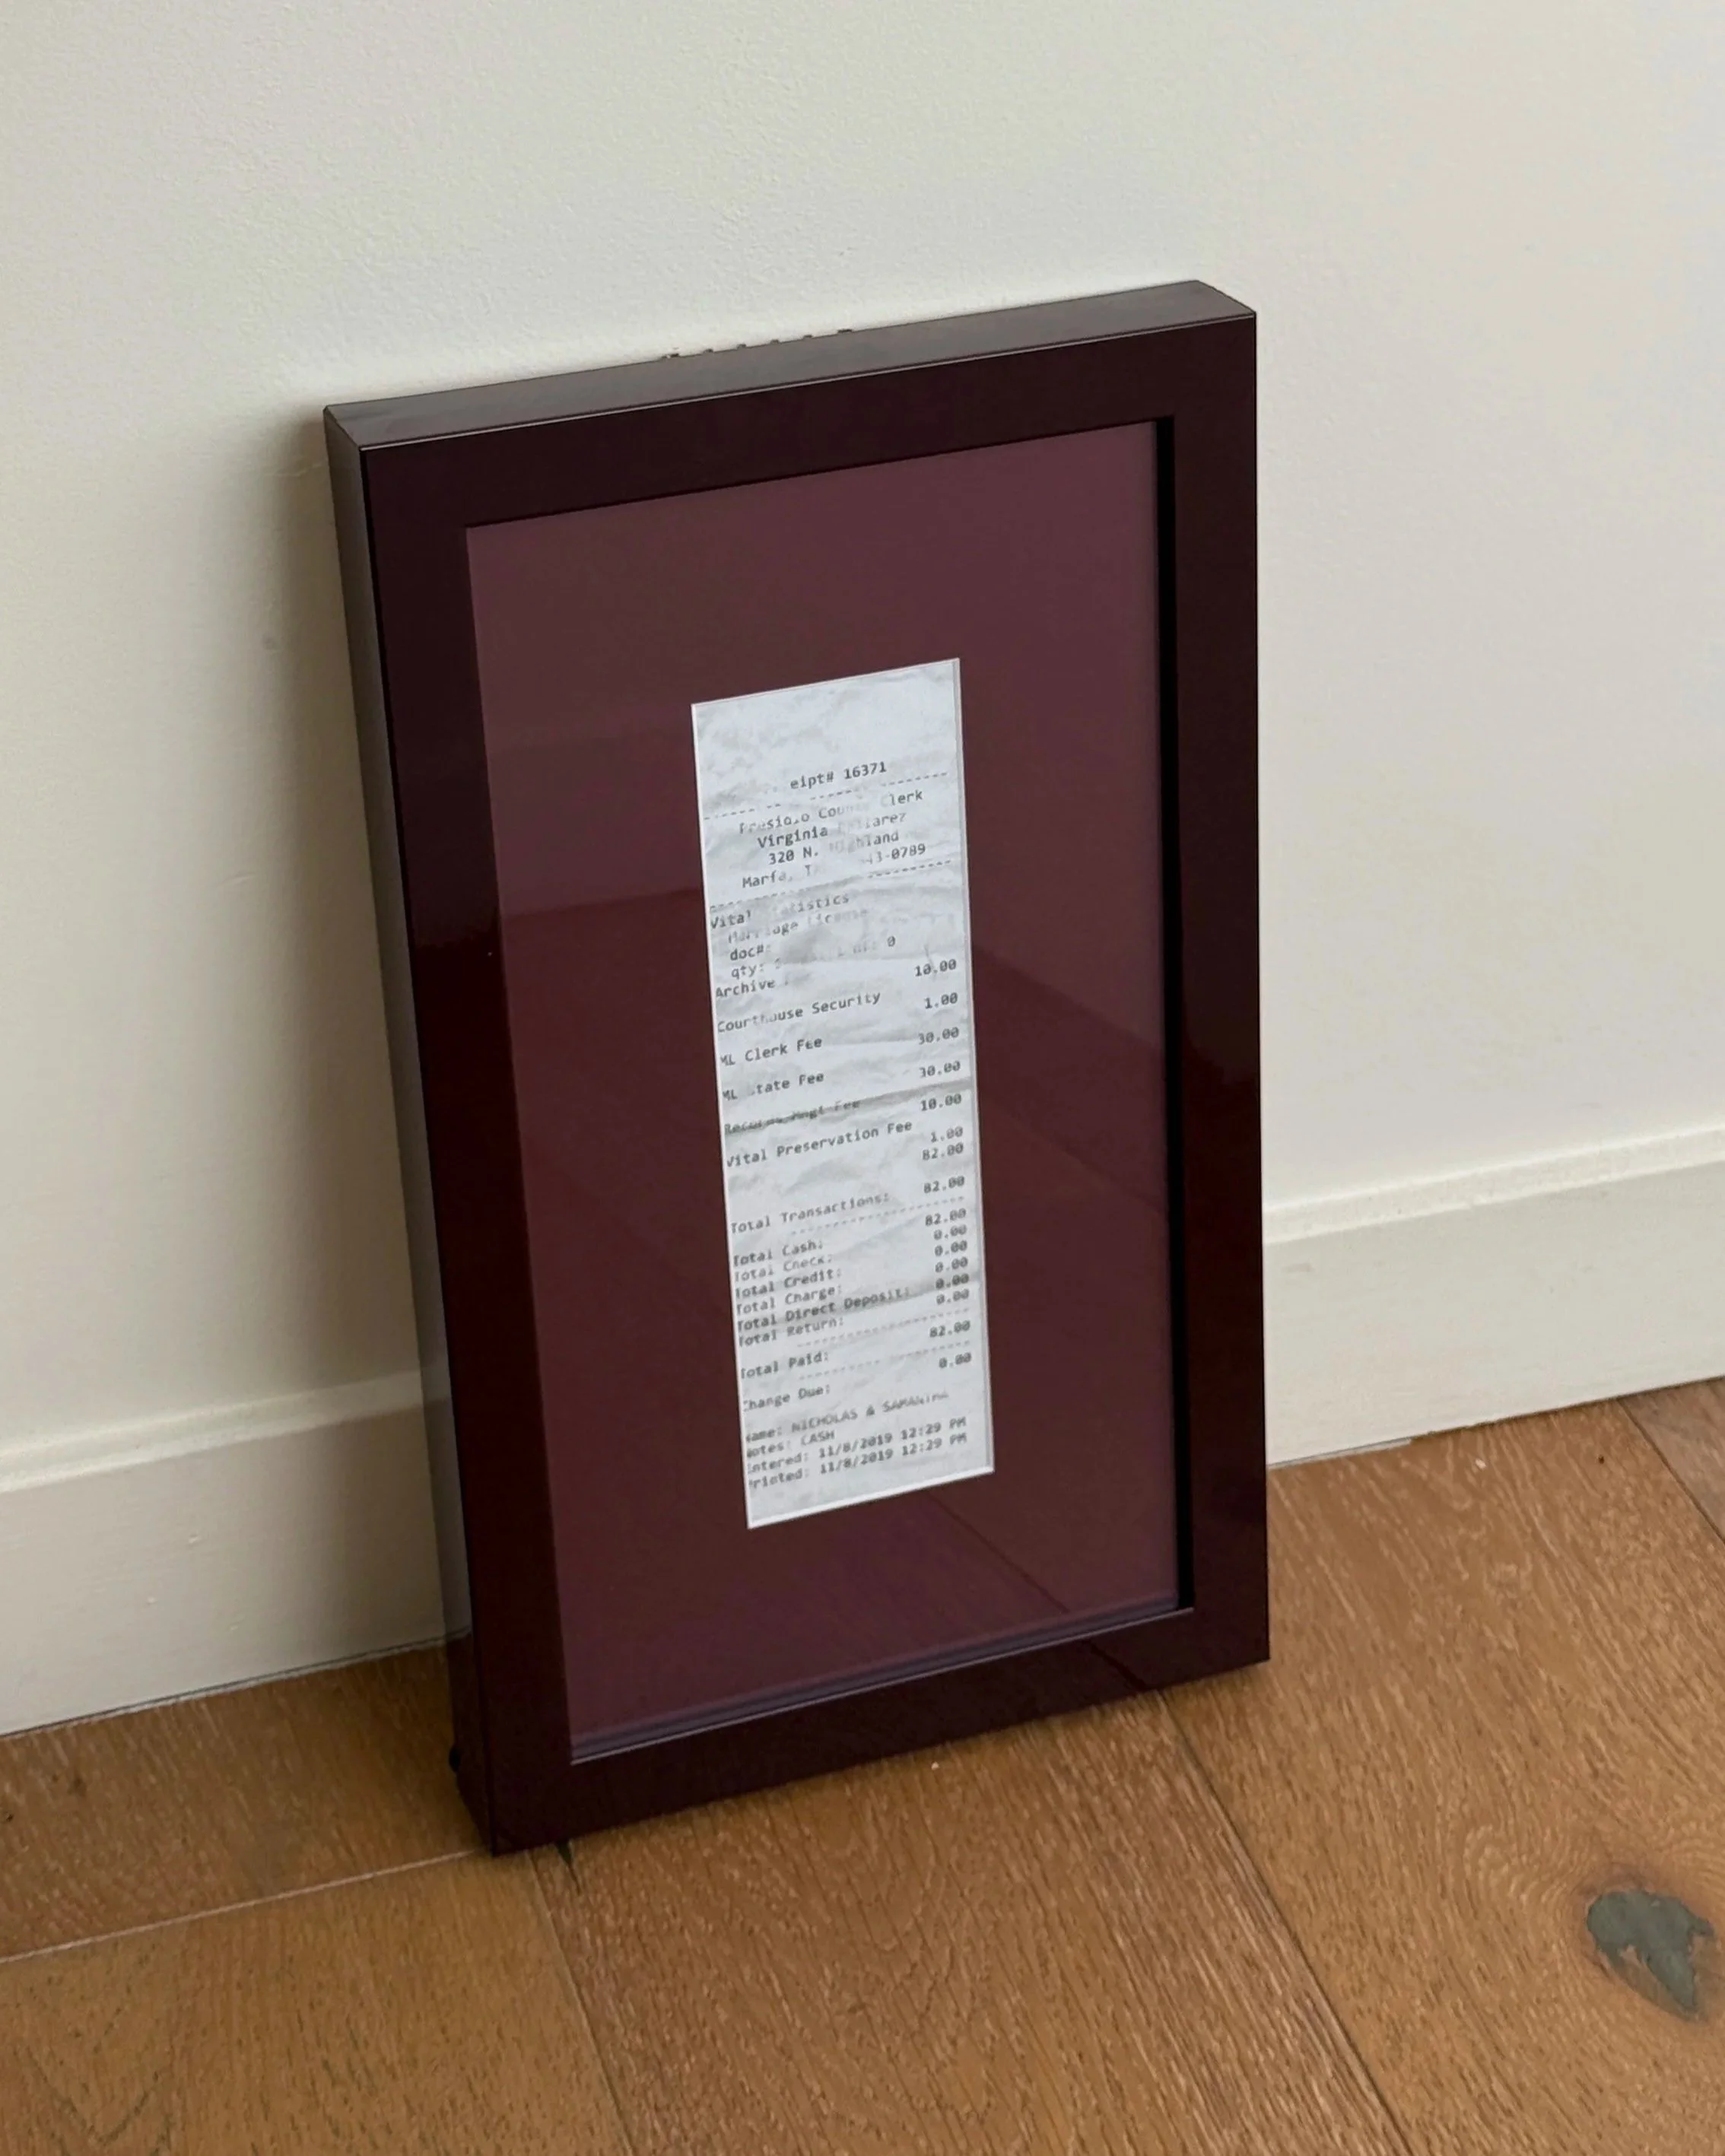
I’ve been wanting to frame a copy of the receipt for our marriage license forever, and finally landed on this mulberry monochromatic combo. I chose the standard mat which made the final frame size 9.25 x 16”. Love this one so much!
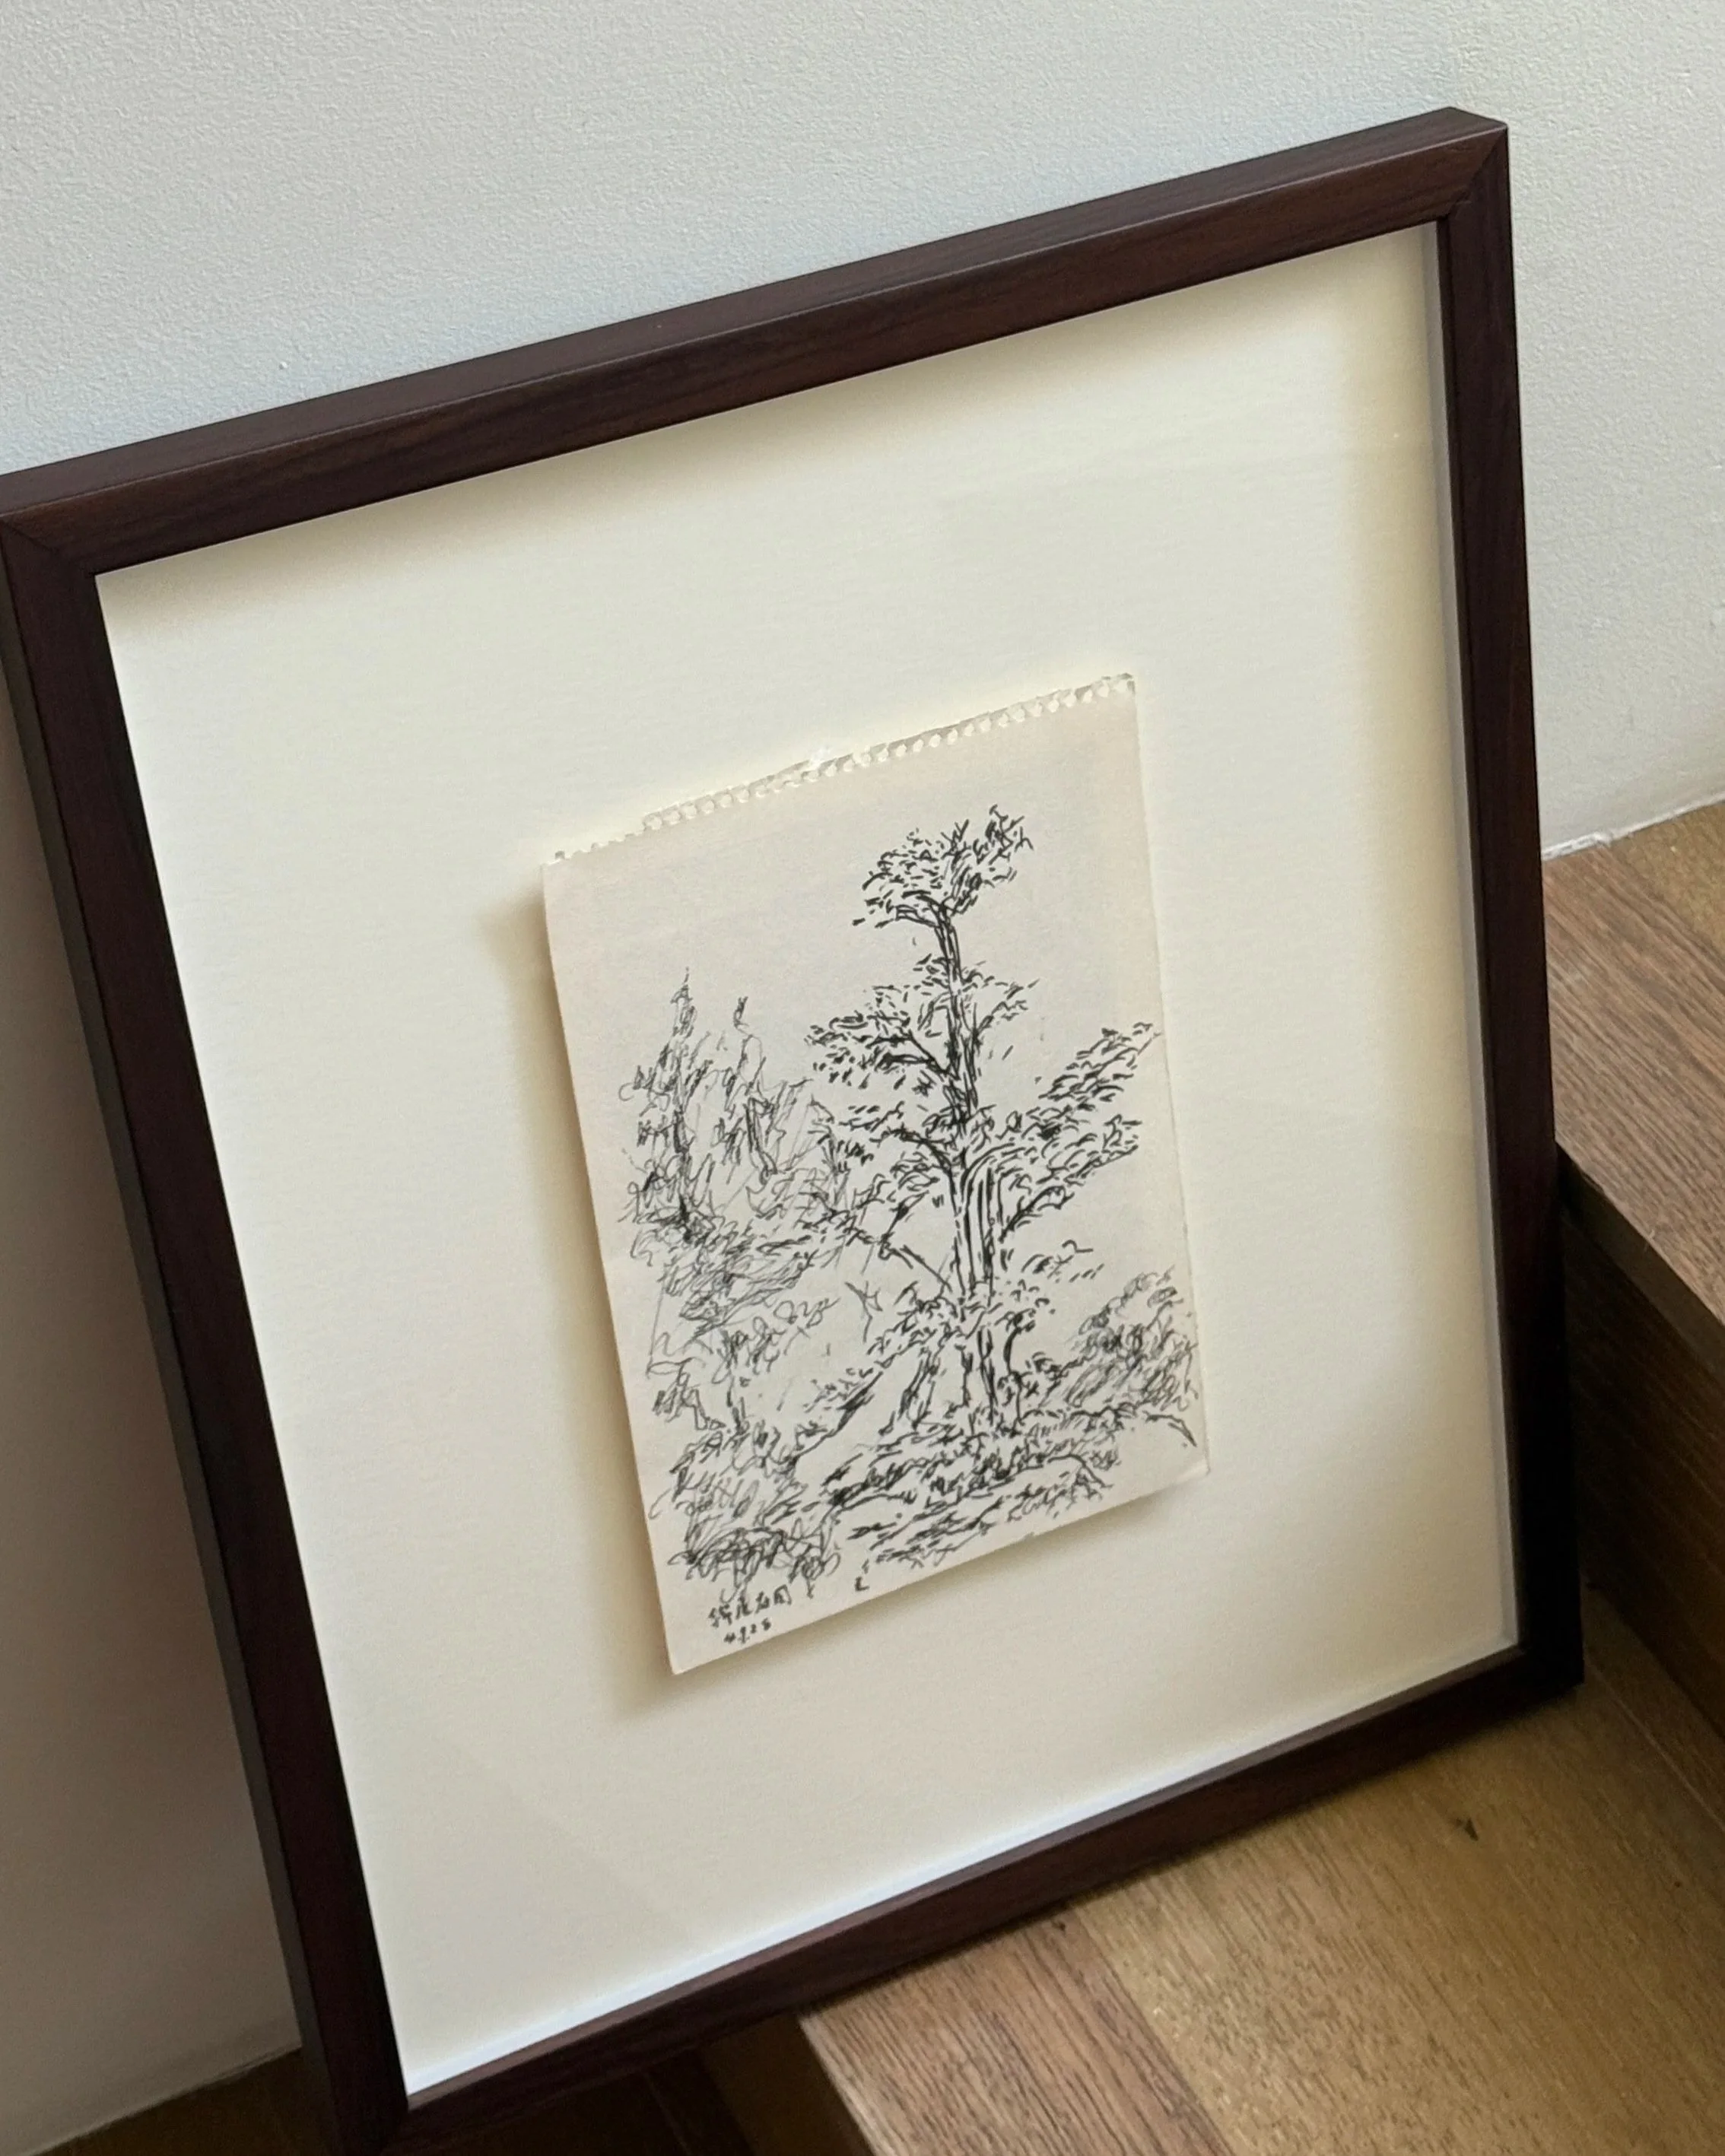
Another sketch from a flea market in Japan—went with a classic, thin walnut frame and a cream mat. I kept the notebook spiral part for a more lived-in feel. The sketch is 7”x9.5” and the final frame size is 16.25" x 19.25".
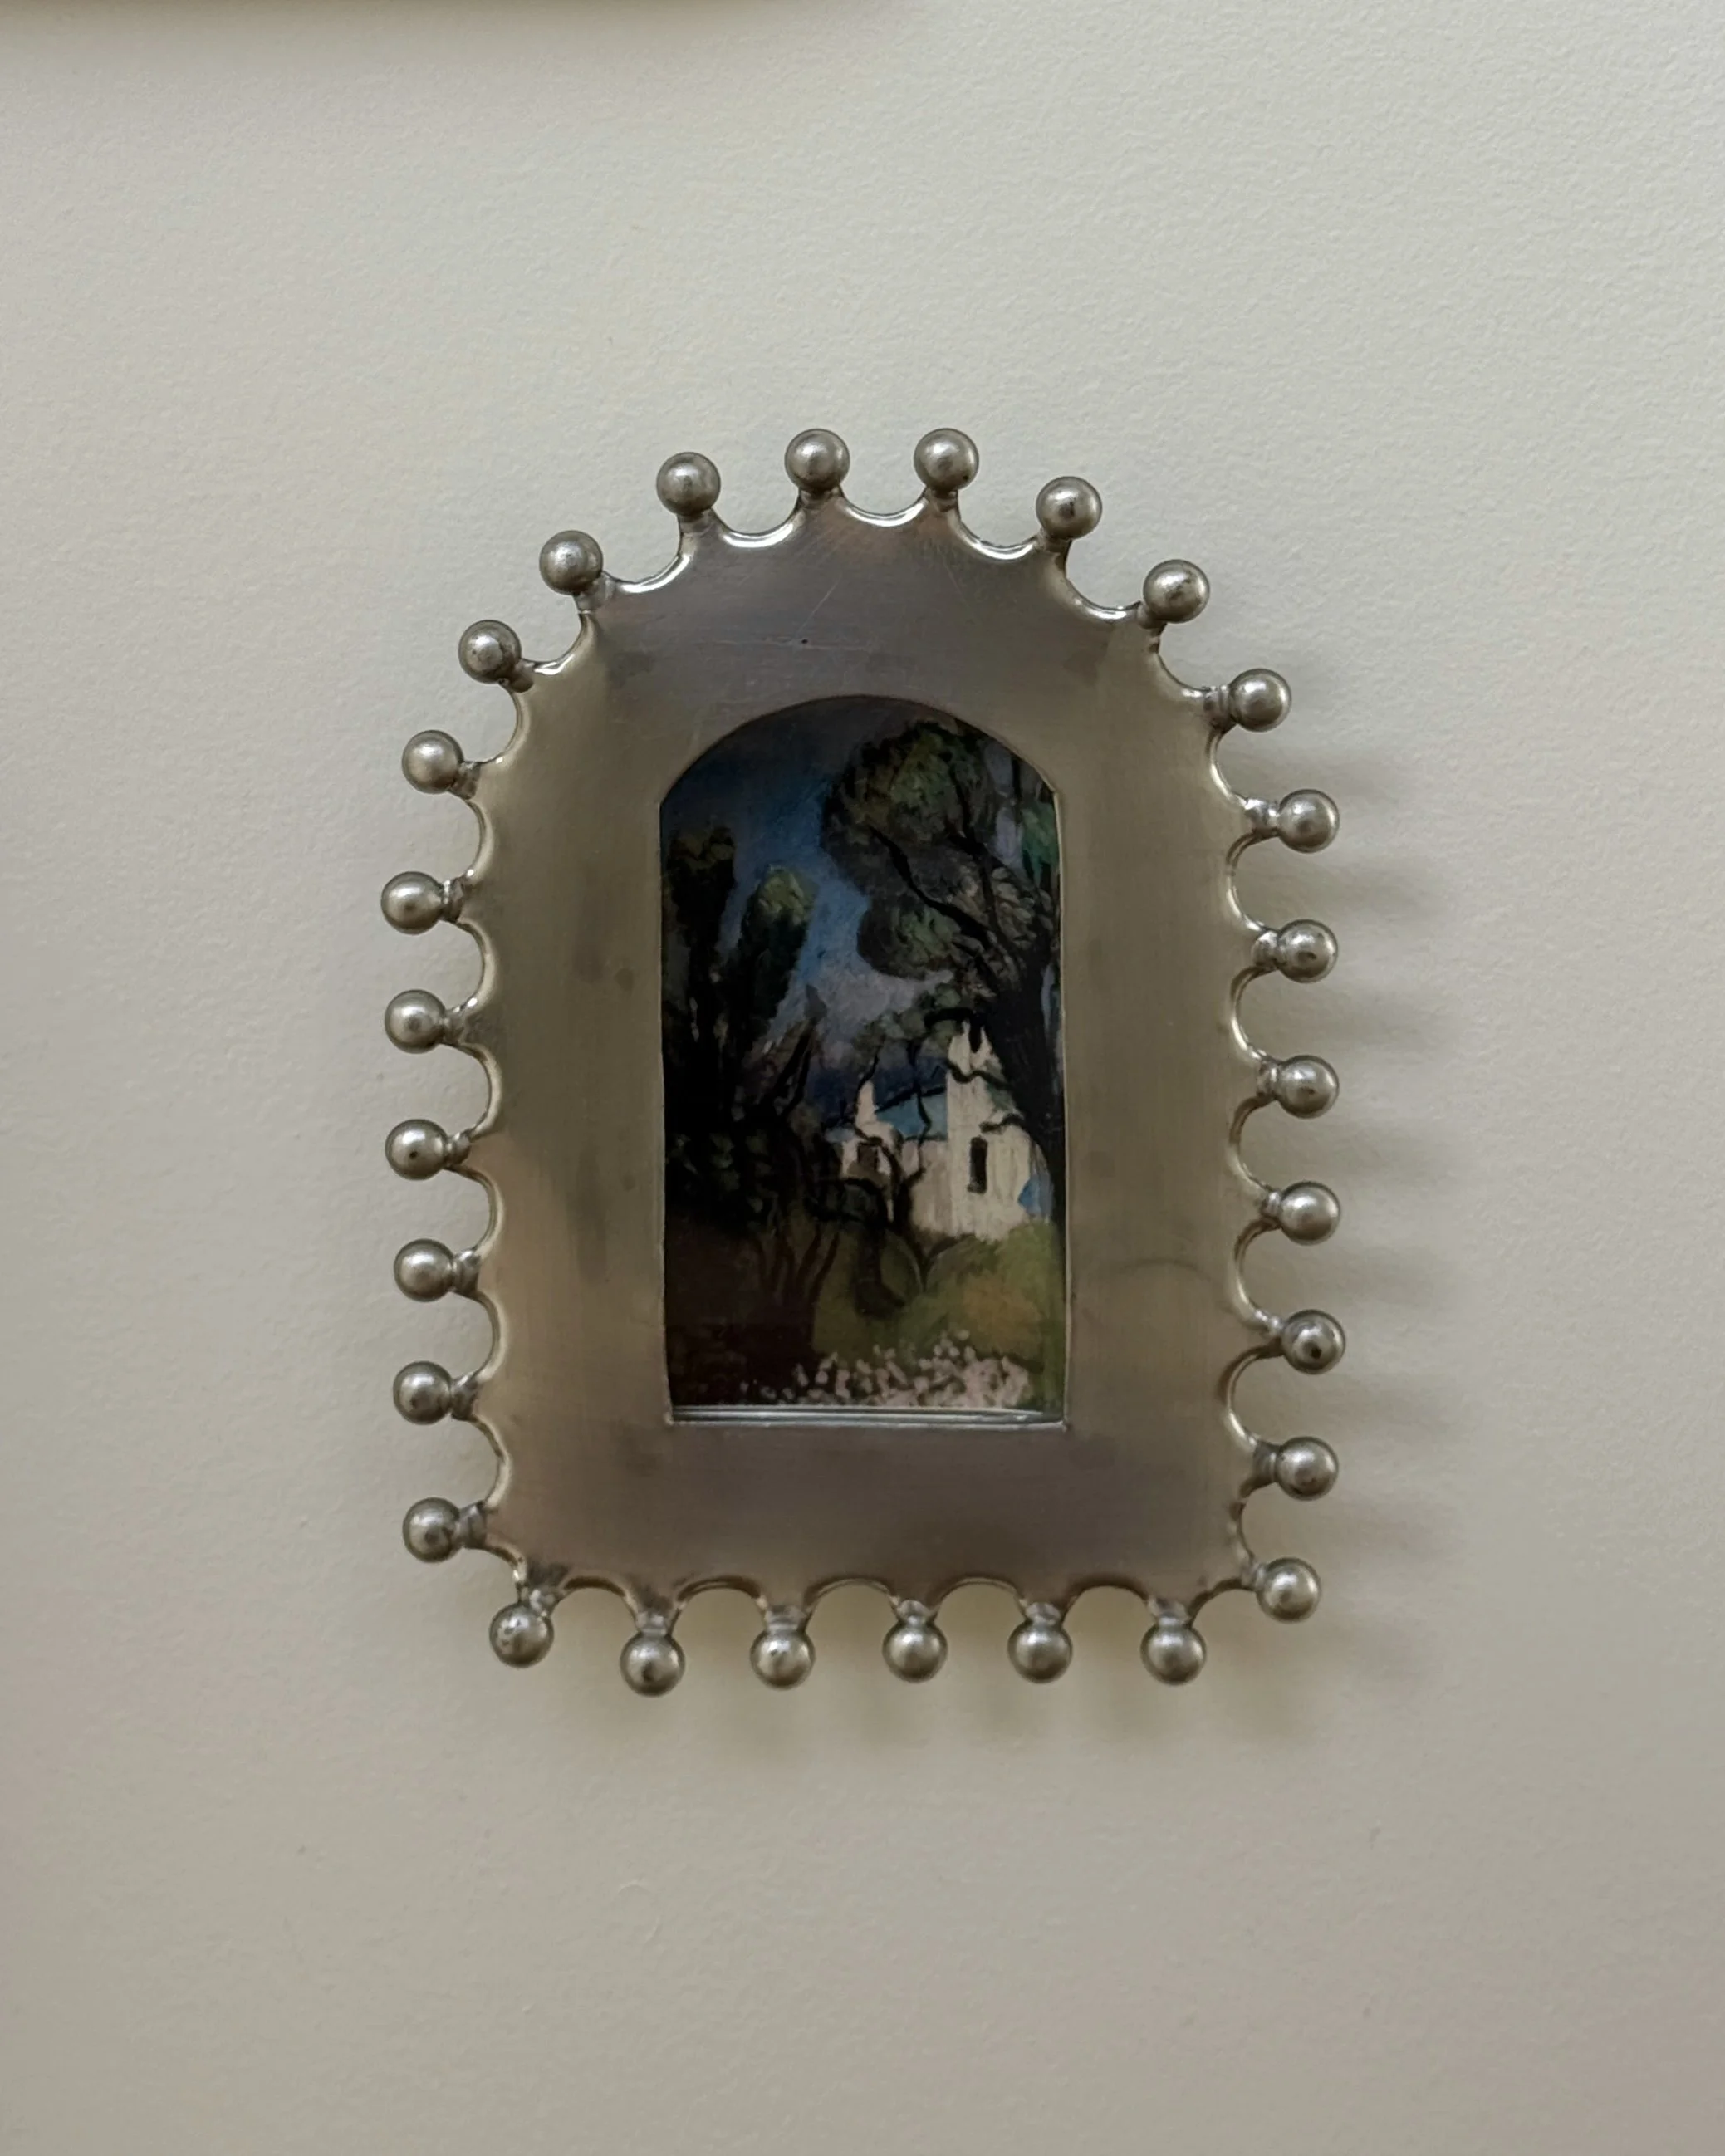
This handmade tin frame is so sweet—and so much more affordable than I feel like it should be?! A great way to add some character to your bathrooms or an entryway.
I’m looking into having a small run of this spinning frame made. In the meantime, this folding one is cute, and you can see this post for info on my mat board customization process.

Head over to the original post to see all of the frames I’ve DIY’d
Hope this was helpful! Happy framing :-)